CUREMANI · THE AT-HOME MANICURE EDIT
How to Apply Semi-Cured Gel Nails: 7 Easy Steps
A calm, practical guide to beautiful gel strips—with the little details that make application easier.
Take me to the 7 stepsNew to gel strips? Start here. Already wearing a set? Jump to the fixes below.
THE QUICK ANSWER
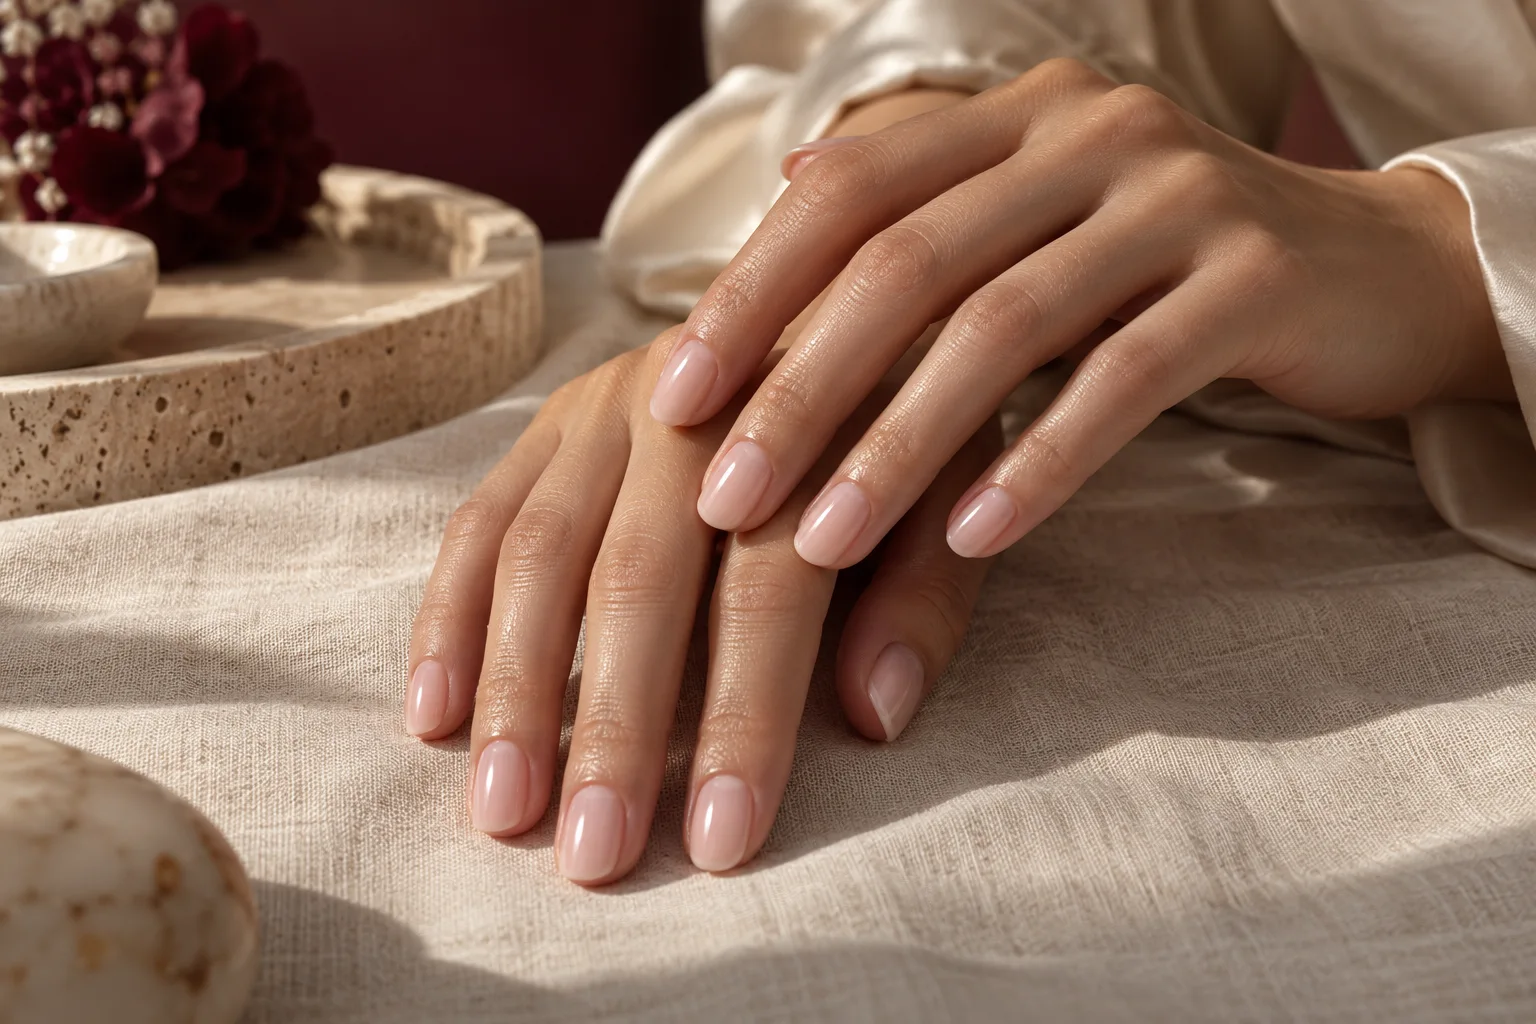
How to apply semi cured gel nails: start with clean, dry nails; choose strips that fit inside your nail edges; smooth them into place; trim as directed; cure with the manufacturer’s recommended lamp and timing; then finish the tips. Keep gel off your skin and follow the instructions for your exact set.
That is the basic sequence. The part worth slowing down for is the fit: a strip touching your skin or sitting over a wrinkle can look fine at first and become annoying later.
01 / SET THE SCENE
A small kit. A clear table.
A little breathing room.
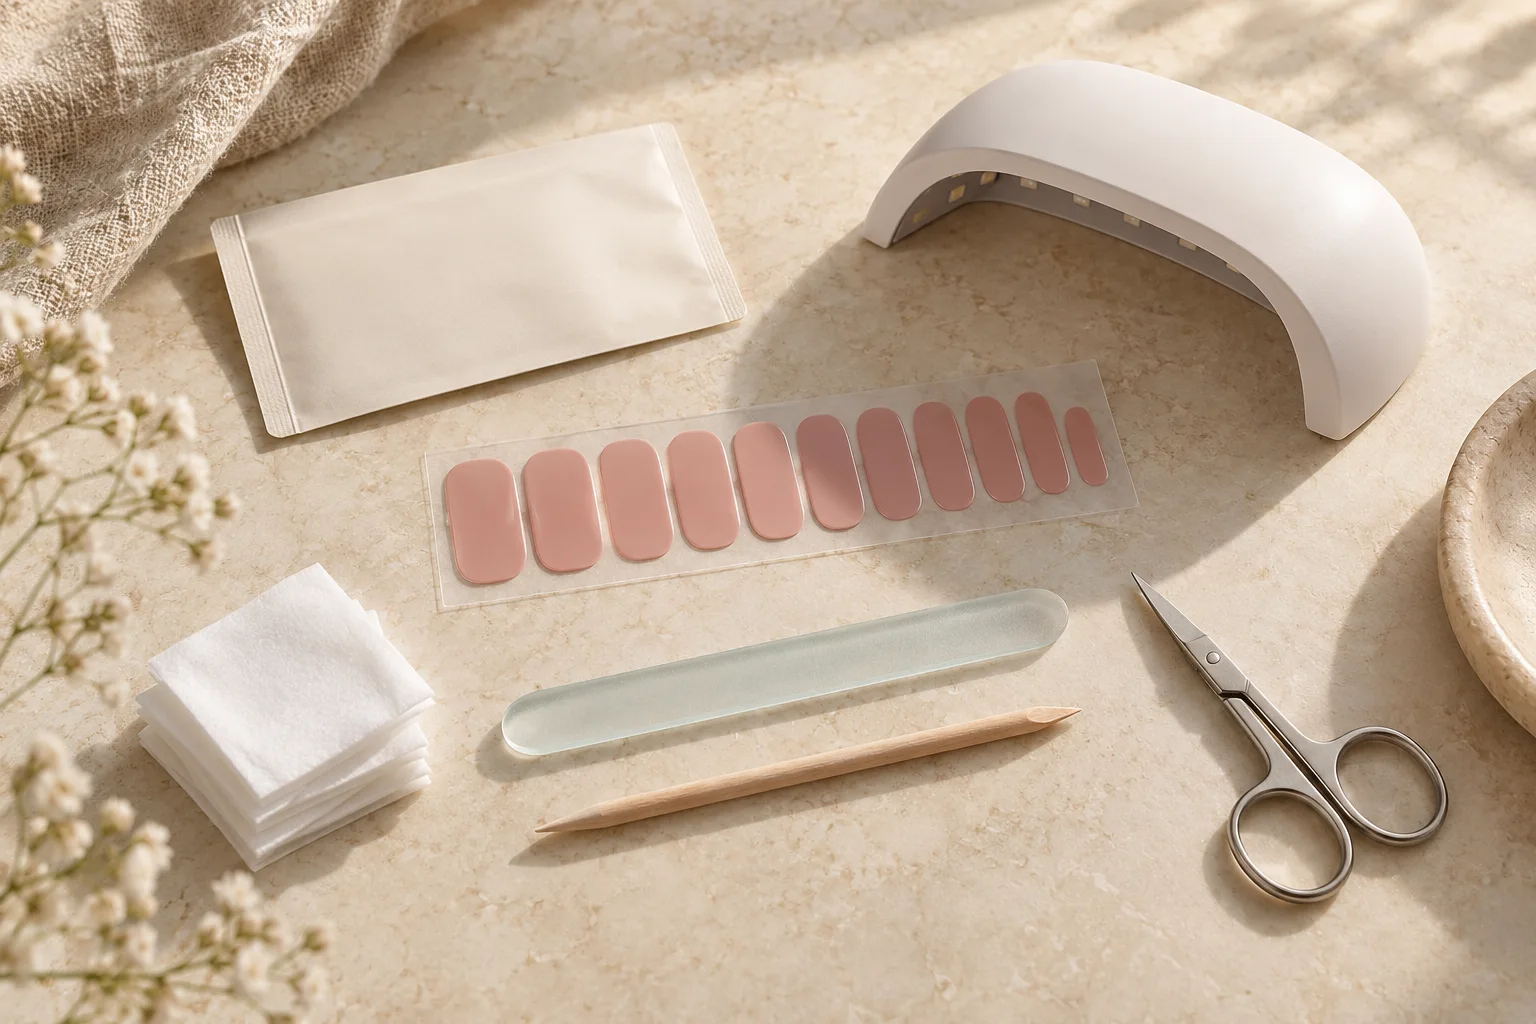
You do not need a salon trolley. Lay out your essentials before opening the strips so you can reach everything with one hand. Choose a clean, well-lit spot away from direct sunlight.
- Your semi-cured gel strips and their application instructions.
- A compatible curing lamp, ideally the one the strip manufacturer recommends.
- The recommended prep pad, a nail file and the supplied smoothing tool.
- A suitable trimmer or small scissors if your instructions call for trimming before curing.
- The recommended remover, ready for when the manicure needs to come off.
Keep hand cream and cuticle oil for the appropriate stage after application. A lovely scented cream is tempting, but residue on the nail plate can get in the way of adhesion.
For your first attempt, give yourself an unrushed window. There is no prize for matching a sped-up tutorial. Read the whole packet once, then work through one nail at a time.
02 / YOUR APPLICATION ROUTINE
How to apply semi cured gel nails
in 7 easy steps
Read the steps once.
Keep your own packet nearby.
Start with a clean, dry nail plate
Remove old nail products, wash your hands and let your nails dry thoroughly. Shape your natural nails before applying the strips. Use the prep product specified by your brand, then let it evaporate fully.
Once the nail surface is prepared, avoid touching it with your fingertips. If you need to answer a message or move a snack out of the way, do it now, then repeat any necessary prep. This is a useful moment to pause and make your workspace comfortable.
Keep it gentle: do not aggressively buff your nails or cut living skin to make a strip fit.
Match each strip before you peel it
Hold the sheet above each nail and compare the width. Look at the widest part of the nail as well as the base. Your thumb may need a different shape from your index finger, even when the widths look similar.
Choose a strip that stays on the nail plate without overlapping the side skin. Lay out your chosen sizes in finger order. If the fit seems wrong, check the packet’s sizing advice rather than stretching a strip until it covers everything.
Place it neatly at the base
Remove the protective layers as directed and handle the strip as little as possible. Align it near the cuticle line while leaving the small clearance your brand recommends. Keep the gel entirely off your skin.
Look straight down at your nail before pressing firmly. A slightly crooked placement is easier to notice now than after every edge is attached. Try not to keep peeling and replacing the same strip; if it loses its grip or becomes contaminated, use a fresh one.
Smooth the center, then the sides
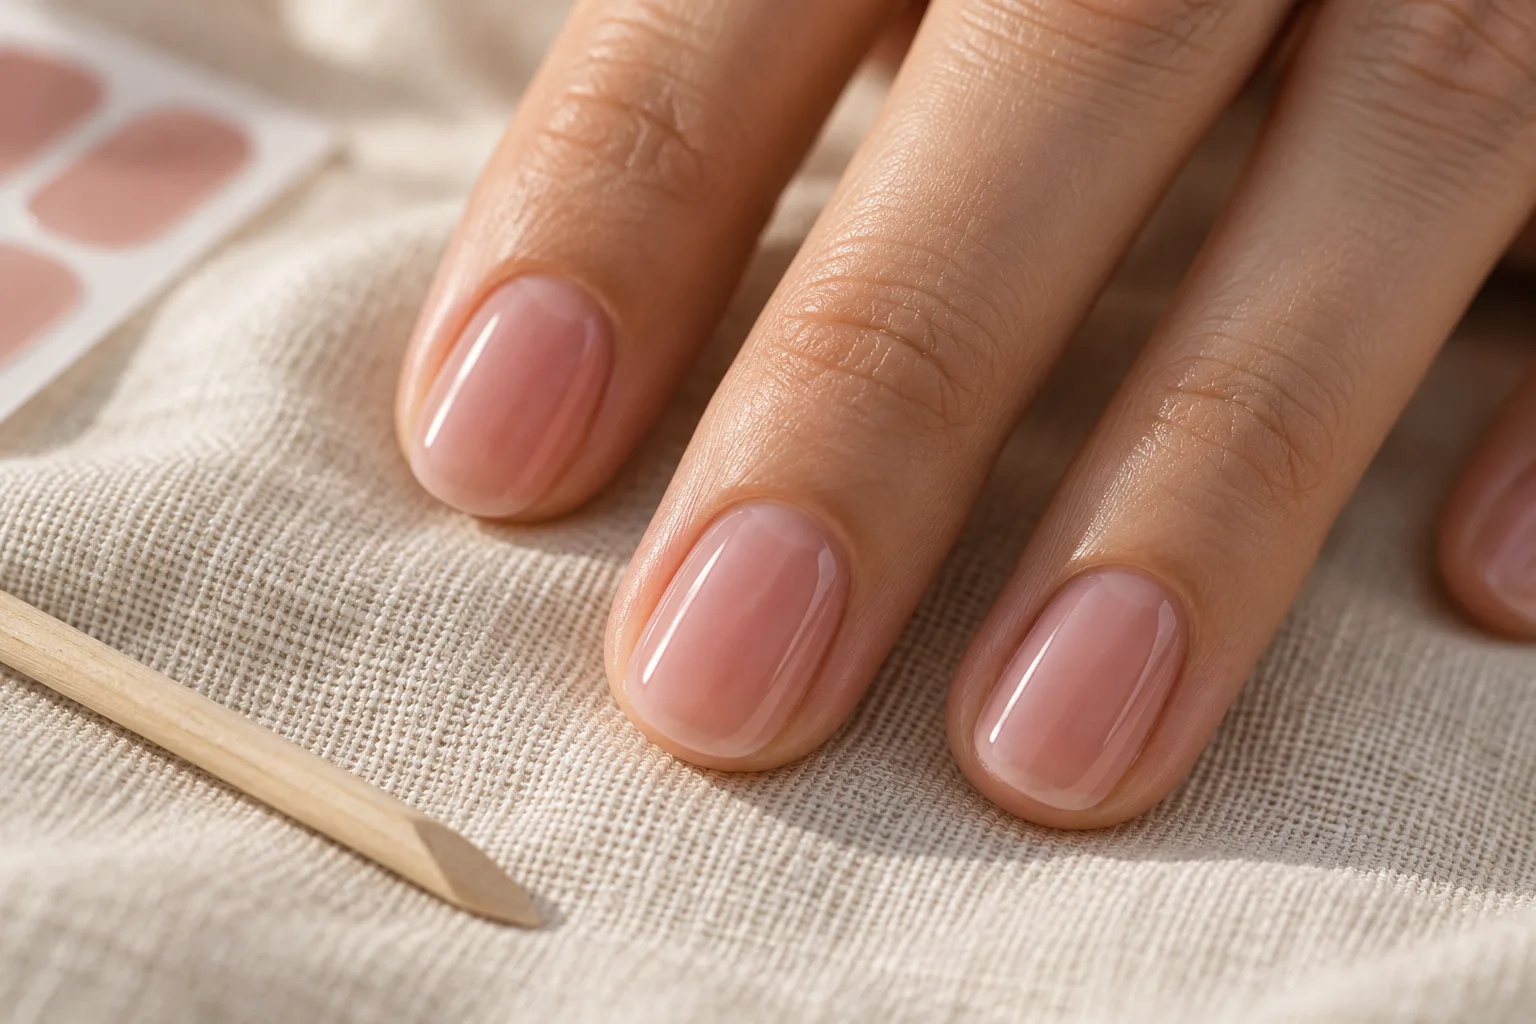
Work gently from the center outward using the method and tool in your kit. Take a close look at the perimeter. The aim is even contact with the nail, without folds, trapped creases or an edge sitting on skin.
A curved nail deserves a little extra attention along its sides. If the strip is too wide to sit smoothly, reassess the size. Pressing harder cannot turn an unsuitable shape into a comfortable fit.
The hair-snag check: look closely at the base and side edges before curing. A visible raised corner needs attention now.
Trim according to your product’s instructions
Follow the trimming order and length specified for your strips. Standard semi-cured strips should not be assumed to work as long extensions. Leaving a decorative overhang because it looks pretty can create an unsupported edge.
Keep scissors or clippers clear of your skin, especially on short nails. If the guide calls for final filing after curing, leave that finishing step until then. The sequence matters more than copying the exact motions from a different brand’s video.
Cure with the right lamp and timing
Put away the unused strips, then follow the curing instructions for your exact product and compatible lamp. Position each nail where the light can reach it as instructed, paying attention to thumbs and the edges of your hand.
Do not borrow a timer setting from another brand. A glossy surface or a firm-feeling strip does not, by itself, establish that curing is complete. If something seems wrong, check the instructions and contact the manufacturer instead of adding cycle after cycle.
Comfort comes first: stop if you feel burning or pain. Seek medical advice for persistent irritation, swelling or a rash.
Finish the tips and follow aftercare
Finish the free edge with the file as your brand directs. Use controlled movements and inspect the outline from the front. Avoid repeatedly sawing at the sides of the manicure.
Check the packet for any waiting period before water, oils or lotion. Once that period has passed, settle into normal gentle nail care. Wear gloves for cleaning, and reach for a tool when opening packaging instead of using a nail as a tiny lever.
When you are done, take a quick photo in daylight. It gives you a useful reference for your next set: which sizes worked, whether a particular finger was awkward, and which shape felt easiest to manage.
03 / THE DETAIL YOU SHOULD NEVER GUESS
Same category. Different curing instructions.
These examples show why there is no single timer setting for every semi-cured manicure. Check your current packaging if its instructions differ from a general online guide.
One 60-second cycle
Dashing Diva’s Glaze guide specifies 60 seconds with its Mini LED Lamp. It also recommends keeping unused strips covered while curing and avoiding water, oils and lotion for at least one hour afterward.
Read the Glaze instructions ↗Follow the specified cycles
Ohora’s gel-strip guide describes one or two lamp cycles, followed by downward filing. Use the directions for your strips and recommended lamp; do not turn that cycle count into a universal number of seconds.
Read the ohora gel-strip instructions ↗About UV exposure: an LED nail lamp can still emit UV. The American Academy of Dermatology recommends broad-spectrum, water-resistant SPF 30+ sunscreen on the hands or dark, opaque fingerless gloves for gel manicures. Keep the nail plate prepared as your strip brand instructs. Read the AAD guidance.
04 / WHEN A NAIL HAS OTHER PLANS
A small troubleshooting guide
A disappointing nail is a reason to look for a cause. These are possibilities to check, not a diagnosis or a promise that one adjustment will fix every set.
Check the base and sides.
A raised corner, skin overlap or a crease can create a snag. Before curing, correct the fit according to the instructions. Once a set is lifting, follow the recommended removal method; do not glue down a pocket or cover it with more gel.
Look at length and daily wear.
Review whether you left an unsupported overhang or filed beyond the intended edge. Repeated knocks and using nails to open things can also stress the tips. Try a manageable natural length for your next application.
Revisit the size.
A strip that is too wide or pulled out of shape can be difficult to smooth. Pause before curing and compare another size. A fresh strip may be easier to work with than one you have repeatedly repositioned.
Check the product and lamp.
Confirm that you used the correct product instructions and lamp setup. Do not assume extra exposure will solve an unknown problem. Ask the manufacturer what to do, and avoid wearing a set that seems improperly cured.
THE BEFORE-YOU-CURE CHECK
Five things to look for.
Save this guide for your next manicure.
- The strip sits entirely on the nail.
- The base and sides lie smooth.
- The length follows the packet instructions.
- Unused strips are covered and away from the lamp.
- The correct lamp and curing directions are ready.
05 / BUILD A KIT YOU WILL ACTUALLY USE
Choose what your kit is missing.
Already have a compatible lamp? Start with the nude-pink strips if that is the color you want. Prefer N Heimish and need remover? Consider the strips-and-remover bundle. Starting from scratch? Check your chosen strips, compatible lamp and removal supplies before checkout; none of these individual links is a complete starter kit.
When shopping for a first set, compare strip sizes, the recommended lamp, removal instructions and what the box actually includes. A low strip price can be misleading if you still need a separate compatible lamp and remover.
Choose a color you will enjoy wearing while you learn. A sheer pink, soft nude or simple solid shade makes it easy to concentrate on placement. Save the complicated mix-and-match set for a day when you have a little more time.
Optional tools can wait until you know what feels awkward. If your kit already includes a file and smoothing stick, try those first. A clear return policy and accessible instructions are useful buying details too.
Compare gel-strip optionsThe Amazon links in this guide are paid links. Product details, selected variants and availability should be checked on Amazon before purchase.
06 / THE QUESTIONS THAT COME UP MID-MANICURE
A few things you might still be wondering
Can I use semi-cured gel strips without a lamp?
Use the lamp required by the manufacturer. A product sold as semi-cured gel should not be treated like an ordinary air-dry nail wrap. If you want a lamp-free manicure, choose a product explicitly designed for that use.
Can I apply them to very short nails?
Often the main challenge is handling and trimming the strip. Check that the product supports your nail length, choose an appropriate size and take care around your fingertip. Do not leave extra length unless the product is specifically designed for extensions.
Do I need a base coat or a top coat?
Only use extra layers when the strip manufacturer allows them. An added product can change how the system behaves. Dashing Diva describes Glaze as an all-in-one product that does not require extra base coat or top coat; other systems may have their own directions.
How long will my manicure last?
There is no guaranteed wear time for every person. Fit, preparation, the product itself and daily activities all play a part. Treat a brand’s stated wear duration as a claim to assess, not a deadline that means you must keep wearing a lifting or uncomfortable set.
How do I remove the strips when I am ready?
Use your brand’s recommended remover and removal sequence. Do not peel or force the strips off. Our semi-cured gel strip removal guide explains what to prepare and which shortcuts to avoid.
What should I do differently for my second set?
Change one practical thing at a time. Perhaps you need a narrower strip on your index finger, a shorter tip or a better place to rest your hand. Keeping a small note of the sizes you used is more useful than buying a whole new collection of tools.