THE CUREMANI EDIT / BUYING GUIDE
Minimalist Home Manicure Kit: What to Buy and Skip
A smaller kit with a clear job for every item.
As an Amazon Associate I earn from qualifying purchases. Some links below are affiliate links; official brand links are labeled separately. About our links.
Editorial research review · Sources checked October 16, 2026 · No hands-on wear test or independent performance score.
A useful home manicure kit is a small collection of tools that supports the manicure you actually wear. It should help you prepare, apply, maintain, and remove that product without forcing you to improvise. A large case filled with unfamiliar attachments is not automatically a better purchase than a few clearly chosen items.
This is a research-based buying guide, not a hands-on ranking of tool durability. We have not tested every file, oil, lamp, or remover against competing products. The selections at the end are specific examples with documented purposes, chosen to illustrate a focused kit rather than a claim that they are universally the best.
| Item | Intended role | Purchase decision |
|---|---|---|
| Natural-nail file | Shape natural edges | Buy if your current tool is unsuitable |
| Care oil | Cosmetic nail and cuticle care | Optional care purchase, not adhesive |
| Remover | End the manicure appropriately | Choose for the exact nail system |
| Curing lamp | Cure a compatible product | Only when the chosen system requires it |
| Extra accessories | Convenience or decoration | Add after identifying a real need |
In this guide · 14 sections
- Define the manicure before defining the toolkit
- Make a four-stage inventory
- A natural-nail file: buy for the surface you intend to shape
- Do you need a separate buffer?
- Nail and cuticle oil: a care product, not an attachment product
- Removal supplies should be chosen early
- A lamp is a system purchase
- Adhesive: keep it connected to a named system
- Items we would postpone in a beginner’s kit
- Storage that helps you use the right thing
- A realistic budget without a shopping-list spiral
- Three example kits by routine
- How we would evaluate a tool before recommending an upgrade
- Products to consider for specific roles
Define the manicure before defining the toolkit
Start by writing down the exact product format you intend to use. A conventional glue-on press-on kit has different needs from a pre-applied-adhesive set. Semi-cured strips add a compatible lamp-curing step. Ordinary polish is another routine again.
This matters because the word nail can make unrelated products appear interchangeable in a shopping feed. A glossy bottle may be a polish, top coat, glue, or remover. A small lamp may be promoted for a system other than yours. The right purchase is the one that fills a defined role in your routine, not the one that merely belongs to the same beauty category.
Read the current instructions before building the basket. If a kit already includes a file and preparation accessories, inspect what they are intended to do. You can decide later whether a separate tool improves convenience. The first question is whether anything necessary is actually missing.
Make a four-stage inventory
Divide the routine into preparation, application, maintenance, and removal. Under each stage, list the required items and mark those you already have. This simple structure makes duplicate purchases easier to spot and keeps attention on the less photogenic but important removal stage.
For preparation, the relevant items depend on the product directions. For application, they might include supplied adhesive or compatible curing equipment. For maintenance, you may want a suitable file for natural nail edges and a convenient storage arrangement. For removal, identify the product-specific method and its required supplies before the manicure begins.
Do not interpret this inventory as a reason to purchase four separate bundles. Some stages may require no additional purchase at all. A box can be convenient precisely because it includes enough for the routine. Your inventory should reveal gaps, not create them in order to justify more products.
A natural-nail file: buy for the surface you intend to shape
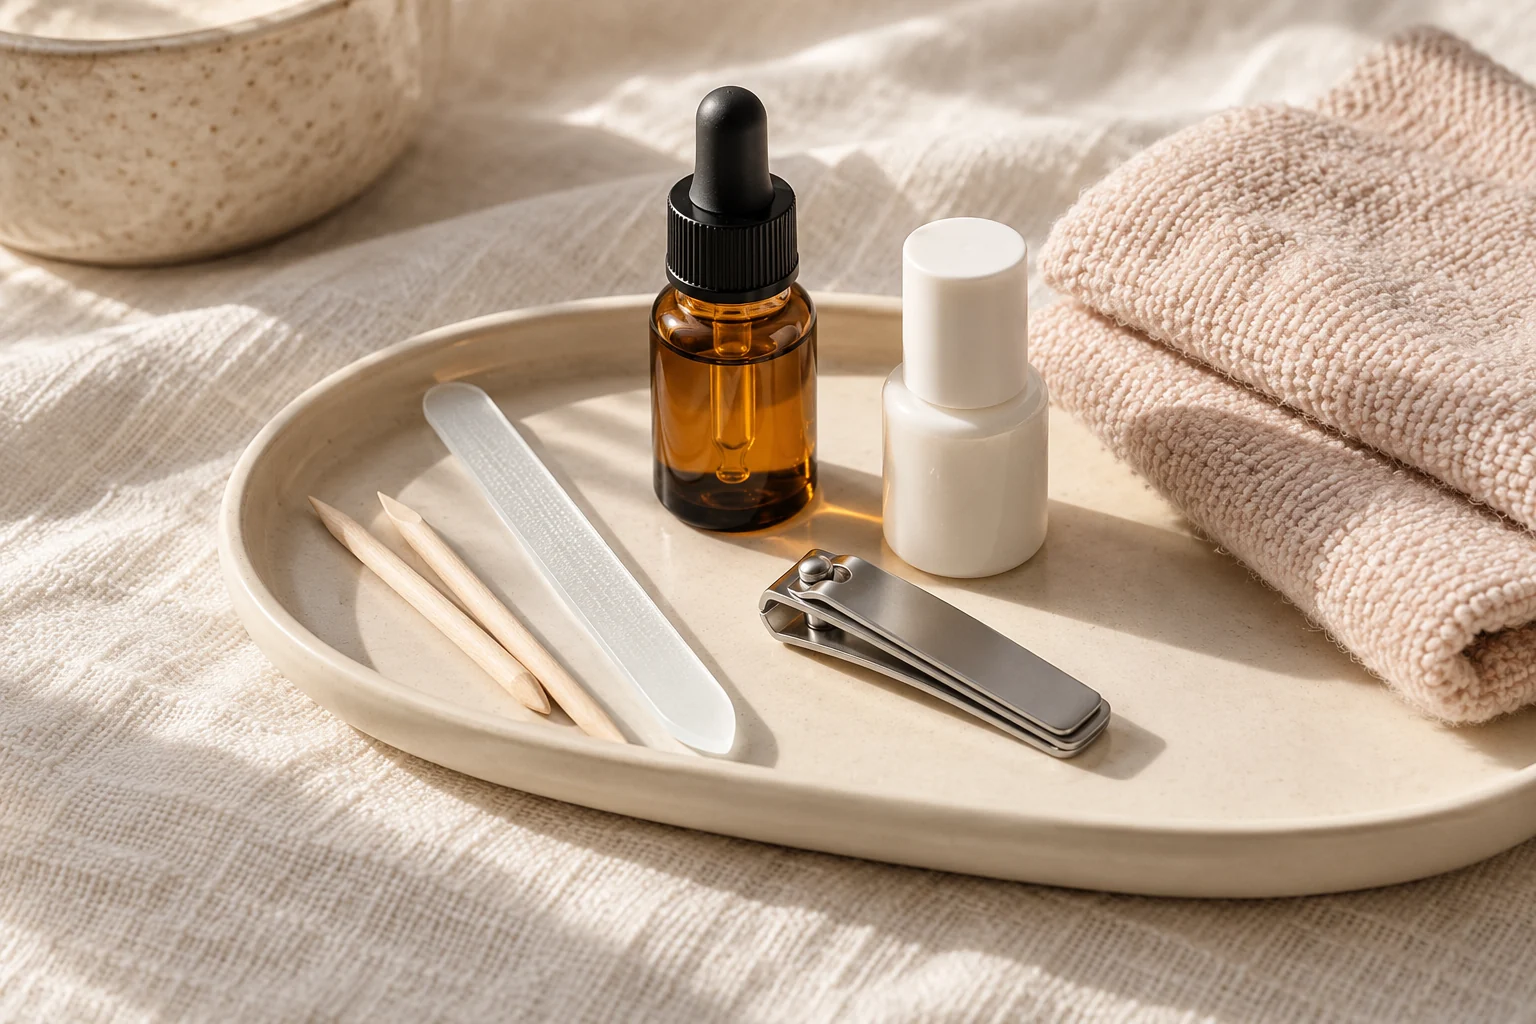
A file intended for natural nails has a different job from a tool used to remove a substantial enhancement. The Tweezerman Glass Nail File is described for shaping and smoothing natural nail edges. That makes its intended role clear in a compact kit.
The important purchasing questions are how you will hold it, where you will store it, and whether its care instructions fit your habits. A reusable tool is only convenient if you can keep it clean and protected. Glass also requires careful handling; a damaged tool should not be treated as harmless simply because the original purchase was durable-looking.
We would not recommend a natural-nail file as a universal solution for shortening every artificial nail or removing every manicure. Follow the cosmetic product’s directions for those tasks. Keeping the tool’s intended surface in mind prevents a common mismatch: buying one attractive file and assuming it replaces every other kind of shaping or removal equipment.
Do you need a separate buffer?
Some nail products specify a preparation step that involves a particular tool, while others supply their own accessories. Read those instructions before buying a buffer because it appeared in a tutorial. A tool being common in manicure videos does not establish that it is necessary for your system.
For a beginner’s kit, avoid collecting increasingly abrasive tools as a response to uncertain adhesion. An application issue can come from fit, placement, or a product mismatch. More aggressive preparation is not a universal answer, and this guide does not recommend filing the nail surface thinner to make a cosmetic product work.
If the instructions call for a tool, choose one that matches the stated purpose and use it as directed. If the directions are unclear, ask the product maker rather than adopting a method from another system. A compact kit is easier to understand when every item has a specific, supported role.
Nail and cuticle oil: a care product, not an attachment product
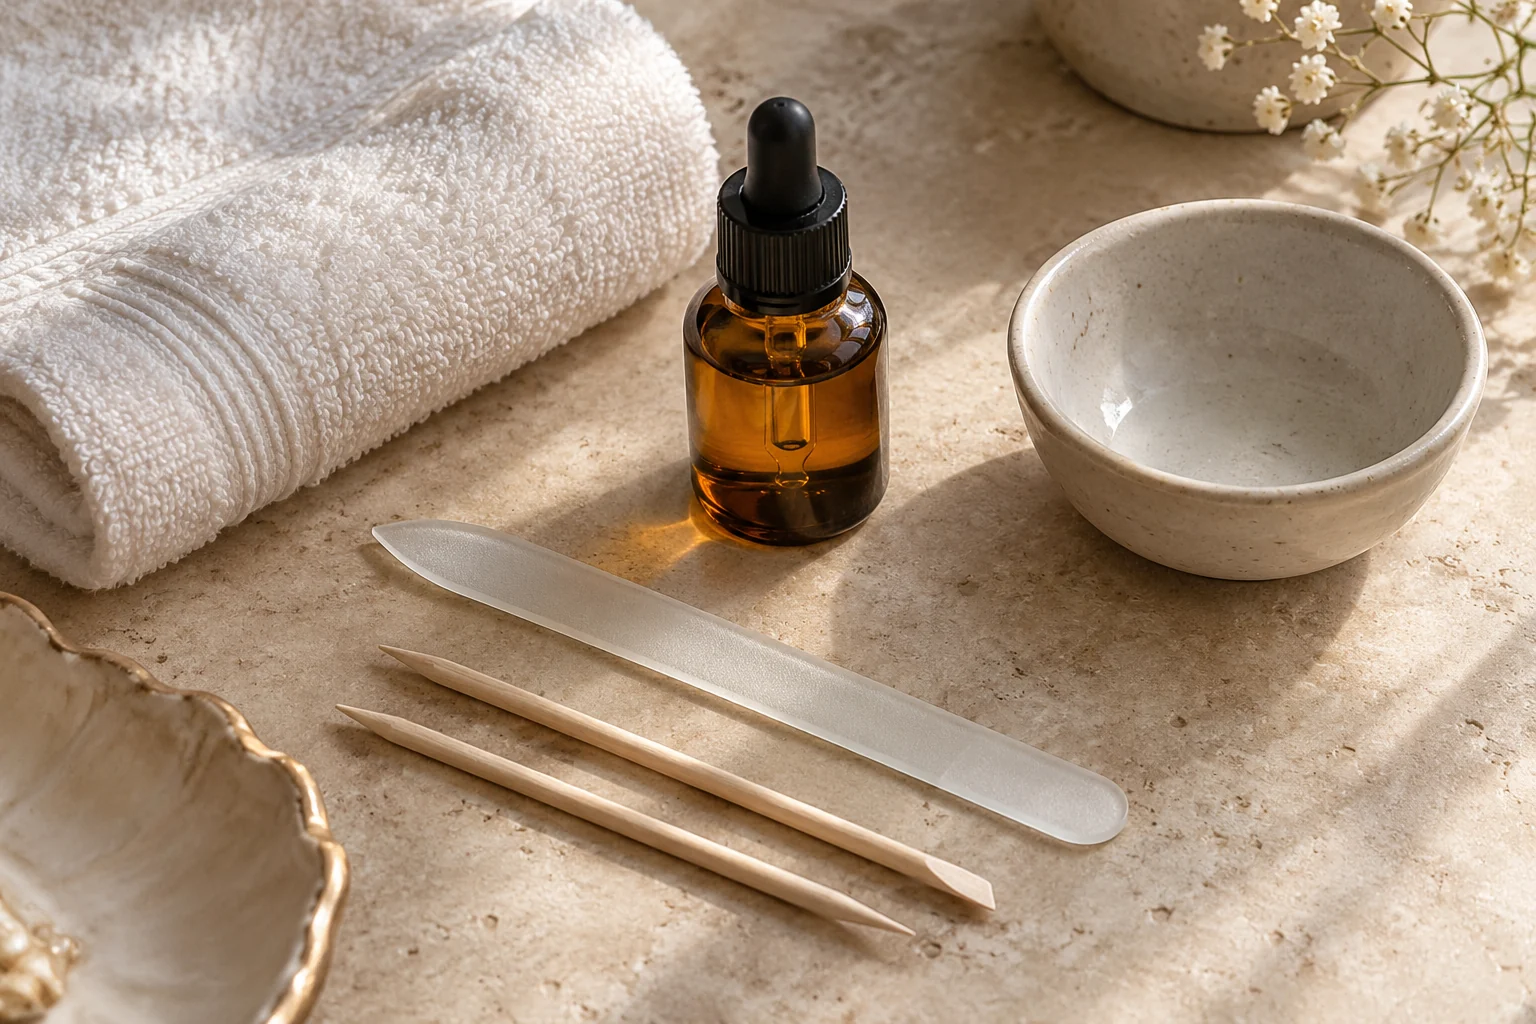
A nail and cuticle oil belongs in the care part of a routine. CND SolarOil is one example of that product category. It should not be described as a substitute for nail glue, a curing product, or a universal remover.
Choose a size and packaging style that you will realistically use. A small bottle may suit a bedside routine; another format may be more convenient in a bag. Larger quantity is not automatically better value if it creates a product you rarely reach for or cannot store conveniently.
Check the current label and ingredients for the variant you buy, particularly if you know you need to avoid an ingredient. We do not claim that an oil repairs a medical condition or makes every manicure last longer. Its place in this kit is ordinary cosmetic care, with timing that respects the application directions of the nail product you are wearing.
Removal supplies should be chosen early
The moment to identify a compatible removal method is before you attach or cure the manicure. Waiting until an edge becomes inconvenient can encourage guessing or forceful removal. A small kit is genuinely complete only when it covers the end of the routine.
Read the directions for the nail product and the proposed remover together. The ohora strip-removal guide is relevant to that strip system; the KISS glue-on FAQ addresses a different attachment. A bottle labeled remover should not be assumed to perform both jobs.
Buy the amount you need and store it as the label directs. Keep the instructions available and do not transfer a liquid into an unmarked container for convenience. If a product requires accessories for its removal method, include those in the inventory rather than discovering the missing item after the manicure is already on.
A lamp is a system purchase
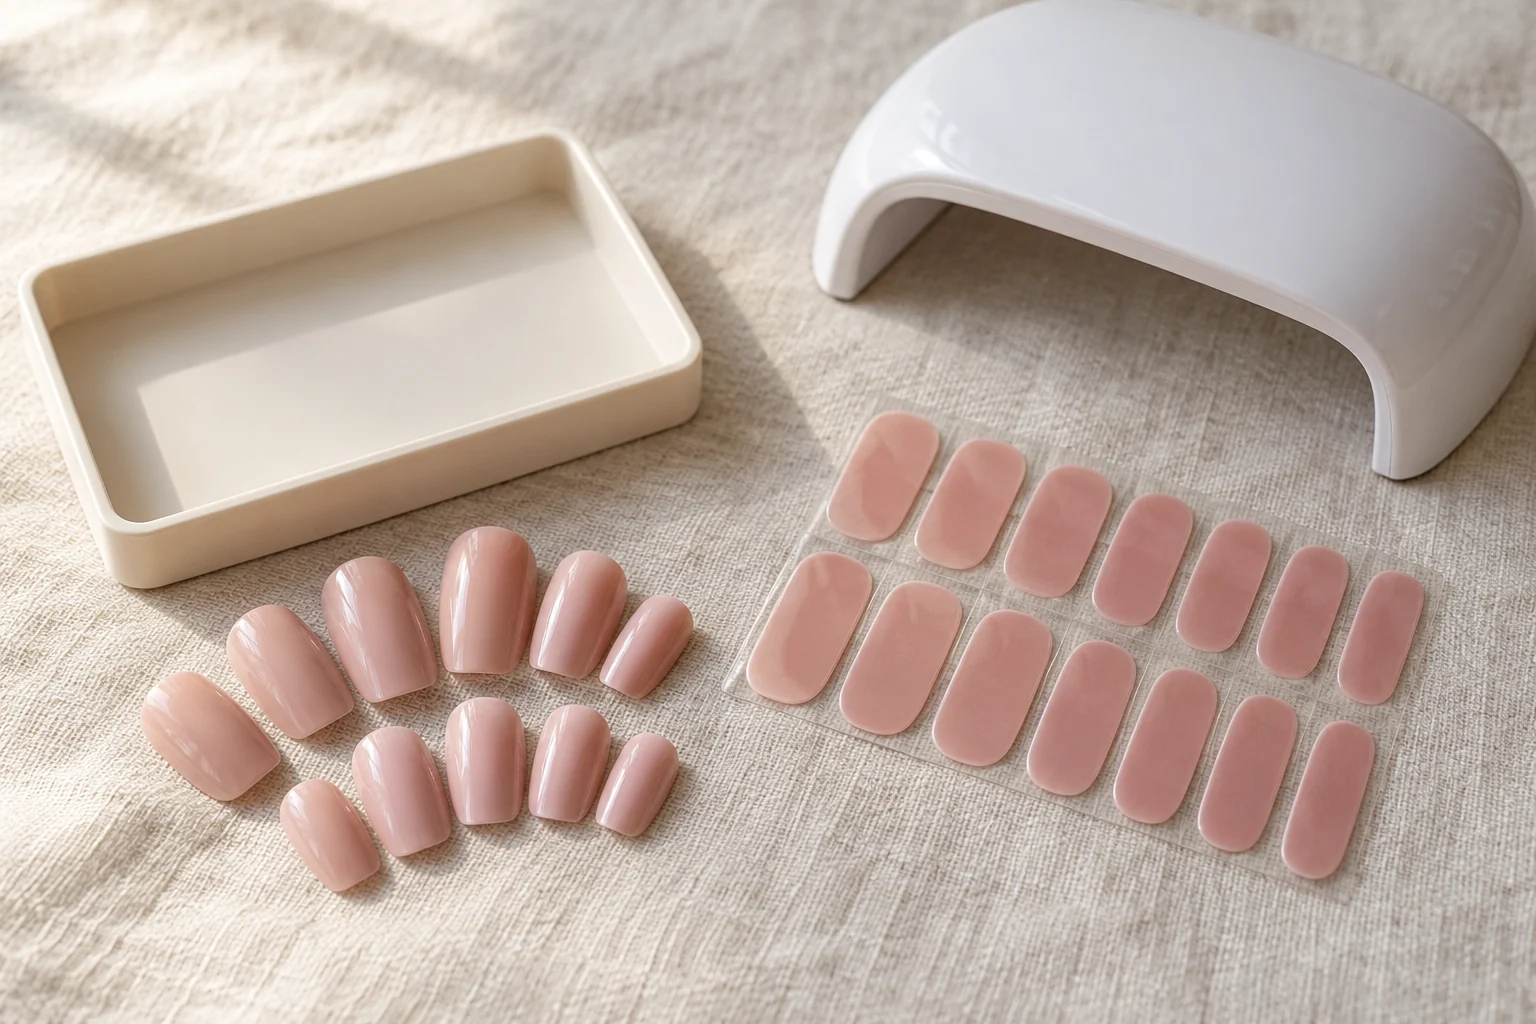
If you choose semi-cured strips, the lamp needs to match the maker’s guidance for those strips. Its color, folding design, or advertised wattage is not enough on its own to establish compatibility. The ohora care guide is an example of brand-specific application guidance to consult.
If you use ordinary glue-on or pre-applied-adhesive press-ons, do not add a lamp simply because the finished nails are glossy. Gloss is an appearance, not a reliable description of the attachment process. Other extension systems can require curing, so identify the actual product before deciding what equipment is necessary.
For someone who already owns a suitable lamp, buying a new one should solve a real problem, such as an equipment requirement or a practical limitation. A second lamp is not automatically an upgrade. Our lamp buying guide covers the questions that deserve attention before comparing accessories by price alone.
Adhesive: keep it connected to a named system
Use the adhesive method supported by the press-on you buy. A kit may include conventional glue, or the nails may arrive with adhesive already applied. Those formats should not be combined by default. Adding an extra bottle without a reason can make the routine more confusing rather than more complete.
Read storage and usage directions, including any information about the opened product. Do not assume that a container remains suitable indefinitely because some material is left inside. Keep the label attached and the product identifiable, particularly if several small bottles look similar.
The same principle applies to repair purchases. A recurring fit problem is not necessarily a need for another adhesive. Check the shape, size, and original application method first. A toolkit should help you follow a clear routine, not become a collection of increasingly complicated attempts to make an unsuitable nail fit.
Items we would postpone in a beginner’s kit
We would not start by buying a large assortment of cutting tools, drill attachments, multiple top coats, several lamps, and several adhesives at once. Each introduces additional choices and instructions. None becomes essential merely because it is included in a professional-looking case.
Postpone an item until you can describe the task it will perform and why the existing kit does not cover that task. For example, wanting more color options is different from needing another tool. A product that changes the decorative finish is optional unless the manicure system explicitly requires it.
For care around the cuticle area, avoid treating a collection of sharp implements as a requirement for a neat result. The American Academy of Dermatology’s healthy-nail advice includes preserving the cuticles. A small, understandable kit is a better starting point than equipment you have not learned to use appropriately.
Storage that helps you use the right thing
Separate decorative products from liquids and reusable tools in a way that keeps labels readable. Keep spare press-on pieces with their product name and sizing notes. If you wear more than one brand, those notes prevent you from assuming that similar-looking size numbers refer to the same dimensions.
Retain the package instructions or a clear reference to the current official directions. A kit can look beautifully organized while still being confusing if the original labels and methods have been lost. Functional organization matters more than making every container match.
Store products according to their labels, including any light, temperature, closure, and child-access precautions. If you use semi-cured strips, their storage requirements deserve particular attention. Our gel strip storage guide expands on that routine where available; the current product label should always determine the final storage choice.
A realistic budget without a shopping-list spiral
Begin with the cost of one manicure product and the supplies its directions require. Then subtract the suitable items you already own. This produces a much more useful budget than adding everything that appears in a product recommendation carousel.
For illustration, imagine a kit with a twelve-dollar nail set, a required removal purchase, and a file you already own. The file does not need to be counted again simply because a new version looks more coordinated. Conversely, a discounted set is not the whole cost if you still need compatible curing equipment.
Keep optional upgrades separate. A storage case, decorative tray, or more convenient oil format may be enjoyable purchases, but labeling them optional makes the decision honest. You can build a pleasant routine gradually without presenting every small accessory as a prerequisite for a successful manicure.
Three example kits by routine
For conventional glue-on press-ons, start with the selected nail set, the attachment supplies specified for it, and the required removal supplies. Add a natural-nail care tool only if it serves a separate purpose you actually need. A lamp is not part of that conventional routine simply because the kit says salon style.
For a pre-applied-adhesive set, begin with the product’s own preparation and removal instructions. Do not automatically add glue. For semi-cured strips, begin with the strips, compatible curing equipment, and the maker’s removal approach. These are example structures, not universal instructions for every brand.
For someone alternating formats, keep the routines distinguishable. A small labeled pouch for each system may be more useful than one mixed box. The aim is to know which directions and supplies belong together without having to reconstruct the process each time you change your manicure style.
How we would evaluate a tool before recommending an upgrade
We would ask whether its intended use is clear, whether the instructions are available, whether the size and storage suit the task, and whether it duplicates something already in the kit. Those questions can be answered before making broad claims about performance.
Actual durability and comfort require use observations. A file’s product photograph cannot establish how long its working surface will remain effective, and an oil’s packaging cannot prove a particular nail outcome. This guide therefore avoids numerical scores and treatment claims.
If a tool already works appropriately for you, a new brand name is not a sufficient reason to replace it. Buy an upgrade when it addresses a concrete limitation. That approach keeps the kit focused and leaves more room in the budget for the manicure designs you actually want to wear.
Products to consider for specific roles
Tweezerman Glass Nail File: natural nail edges
This is a candidate for someone who wants a reusable file specifically described for natural nail shaping. Check its handling and care instructions and store it where it is protected. It is not recommended here as a universal enhancement-removal tool. Shop the Glass Nail File on Amazon
CND SolarOil: ordinary nail and cuticle care
Consider this if a clearly labeled care oil is the missing item in your routine. Choose the current size and formula deliberately and follow the label. Our recommendation is about its defined cosmetic role, not a claim that it treats a condition or guarantees stronger nails. Shop SolarOil on Amazon
ohora Care Easy Peel Remover: the matching strip routine
This is relevant if you use compatible ohora strips and want the brand’s designated removal product. Confirm the current directions and exact bottle before purchase. It should not be bought on the assumption that it will remove every press-on adhesive. Check the selected Easy Peel Remover listing on Amazon
Product specifications can change. Confirm the selected variant and current manufacturer instructions before purchase. Source links are included beside the relevant claims.