THE CARE CABINET
Gel Strip Storage: 7 Ways to Save Your Unused Strips
The little ritual that keeps your leftover colours worth saving.
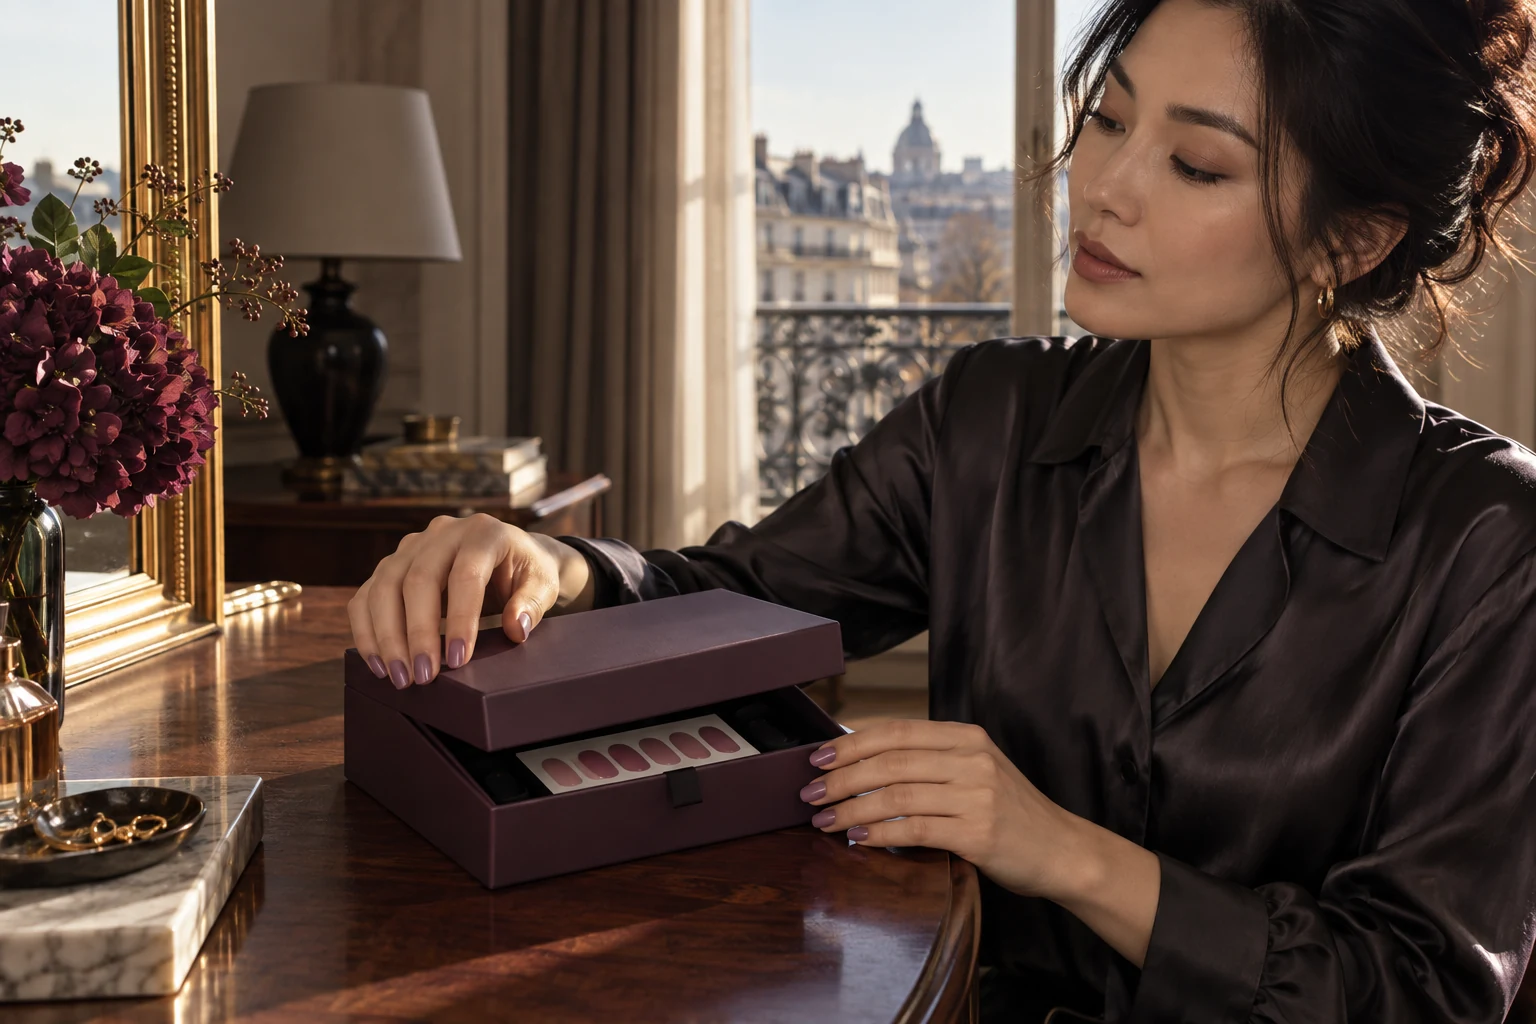
Gel strip storage is the unglamorous part of a manicure that saves the prettiest leftovers. You finish your hands, put the lamp away, and notice six lovely pieces still on the sheet. They look too useful to throw out. The question is whether they will still be flexible when your index finger needs a replacement next week.
Keep unused semi-cured strips on their original backing, protected from curing light, inside the original light-blocking packaging. Follow the brand’s temperature and shelf-life instructions. An extra storage box can help organize the packet, but it does not replace the protective sleeve.
Think of leftovers as a tiny repair wardrobe. A matching thumb strip is more valuable than a random pile of pieces from designs you no longer own. This guide explains how to keep the useful ones, identify questionable leftovers, and stop buying storage accessories before you have a system.
1. Protect the sheet before you switch on the lamp
The easiest mistake happens while you are still applying the manicure. The open sheet sits beside your curing hand because you may need another size. That is also the moment the sheet can receive light it was meant to avoid.
Dashing Diva’s Glaze instructions warn that unused strips can harden when exposed to the curing light and recommend keeping them covered in their container during curing. Put the remaining sheet away before each lamp cycle. Do not rely on turning it face down beside the lamp.
Make the safe position convenient: lamp on one side, closed packet on the other, tools in between. That small arrangement matters more than a luxurious organizer. If protection takes only one movement, you are much more likely to do it every time.
2. Keep the backing and protective packaging together
Leave unused pieces attached to their original backing. Do not transfer them adhesive-side down onto ordinary paper, cotton, or the inside of a makeup bag. Once fibers or dust reach the adhesive, a pretty leftover can become an unreliable patch.
If the packet includes a film or sleeve that is meant to be retained, keep it. Photograph the original arrangement when opening a new brand so you can put things back correctly. Gel strip storage becomes much simpler when the instructions stay with the actual product.
You can place that packet inside a rigid opaque pouch to prevent bending. Avoid pressing it under bottles or folding it in half. The purpose is to preserve its original shape and keep the adhesive untouched, not to compress an entire collection into the smallest possible pocket.
3. Read temperature advice instead of inventing a refrigerator trick
Different brands may describe storage conditions differently. Use the label for the product you own rather than applying one company’s recommendation to everything in your drawer. A closed bedroom drawer is generally a more predictable place than a sunny windowsill or a hot car.
Ohora UK’s FAQ distinguishes temporary stiffness after cold exposure from hardening caused by light. Its advice is brand-specific: material that became cold may soften again at room temperature, whereas light-cured material cannot be restored to its original state. Do not treat a hairdryer, radiator, or microwave as a recovery tool.
If the sheet feels different, allow it to reach the conditions recommended by the maker before assessing it. Uncertainty about storage is a good reason to contact support. It is not a reason to force a brittle piece across your thumbnail.
4. Save the sizes that actually fit you
Spread the sheet beside a note showing the widths you used for each finger. Mark the sizes on the outer packet, never on the adhesive. You do not need a complicated spreadsheet; “thumb 1, index 4, middle 3” is enough if the backing identifies widths clearly.
A packet with eight leftovers is not necessarily eight useful replacements. Some may be too narrow for every nail. Keep an honest count of usable pieces, particularly thumb and index sizes, because those are often the ones you wish you had saved.
For your next order, compare usable widths instead of total strip count. Our guide to strips for wide or flat nails explains why a packet can look generous yet fit only a few fingers. Better fitting stock means less waste from the start.
5. Label one small repair kit per design
Keep leftovers with the shade name, opening date, product instructions, and a photograph of the finished manicure. Add a short note about fit: “tiny little-finger strip worked” or “thumb needed a smaller width.” This turns leftover storage into useful knowledge.
Do not write a universal expiration date on every packet. Follow printed dates and the maker’s guidance for opened products. If there is no clear information, record when you opened it and ask the manufacturer rather than copying an arbitrary online rule.
| What to keep | Why it helps |
|---|---|
| Original light-protective packet | Preserves the intended storage environment |
| Shade name and opening date | Identifies the correct repair and age of the packet |
| Finger-size note | Saves another round of guessing |
| Removal instructions | Keeps the complete routine available |
6. Check a leftover before committing to a repair
Look for a strip that remains in the condition described by the manufacturer. Unexpected stiffness, creases, contamination, damaged backing, or obvious adhesive problems are reasons to stop. Do not try to compensate with extra glue or an unfamiliar liquid base.
Inspect the natural nail too. If the previous strip lifted, remove it according to its instructions, then decide whether the nail is comfortable and ready for another application. Leftovers are a convenience, not a way to cover a sore or visibly changed nail.
Our removal guide covers the preceding step. Make a repair on a clean, dry surface with the same care as a full set. A saved piece deserves a fresh application rather than a hurried patch over old adhesive.
7. Pack your gel strip storage kit for travel
A small opaque case, with each sheet still inside its own protective packet, is enough for most trips. Keep the case away from direct sunlight and avoid leaving it in a parked car. Put remover in a separate sealed pouch so a leak cannot reach the strips.
Pack only designs you are wearing or genuinely expect to use. A full collection creates sorting work without giving you more time on holiday. One fitting replacement for each likely repair is more useful than ten unrelated nail-art sheets.
When you get home, return the packets to their normal storage spot. Travel bags are where old products disappear for months. A two-minute unpacking ritual protects the next manicure better than remembering, vaguely, that you once saved the right size.
Frequently asked questions
Can I save unused semi-cured gel strips?
Yes, when the product directions allow it and the pieces remain protected and usable. Keep original packaging and follow the maker’s guidance rather than assuming every strip has the same opened shelf life.
Can I reuse a strip I removed from my nail?
Do not confuse an unused leftover with a used strip. This guide concerns pieces still on their backing. A worn piece has already been exposed to adhesive contamination, removal products, and mechanical stress.
Is an airtight clear bag enough?
A clear bag can help contain pieces but does not block curing light. Keep the manufacturer’s protective packaging inside your organizer. Air protection and light protection are separate jobs.
Should gel strip storage go in the refrigerator?
Only if your manufacturer specifically instructs that. Cold is not a universal preservation method for semi-cured materials, and unnecessary temperature changes make it harder to judge their condition.
Can I mix leftover colors?
You can plan a mixed design using compatible, unused pieces that fit, following each system’s directions. Keep the finish and color story intentional; do not mix products simply because the packets are nearly empty.
The small habit that pays for itself
Close the packet before curing, keep the backing intact, and label the widths you actually use. Those three habits make gel strip storage practical. The reward is not a perfect drawer. It is finding the right replacement, in usable condition, exactly when you need it.
2 thoughts on “Gel Strip Storage: 7 Ways to Save Your Unused Strips”
Comments are closed.