UV Lamps for Semi-Cured Gel Strips: Curing Basics
Do you really need a lamp, how long should you cure, and how can you protect your hands? Here is the brand-checked answer without laboratory theatre or universal promises.
You may be wondering whether a sunny windowsill can replace another gadget on the bathroom counter. For an UV lamp for semi-cured gel strips, the useful answer comes from the product instructions rather than a universal wattage claim. These strips are intentionally flexible when removed from their light-protective package. The maker’s curing step finishes the manicure and gives the strip its final feel.
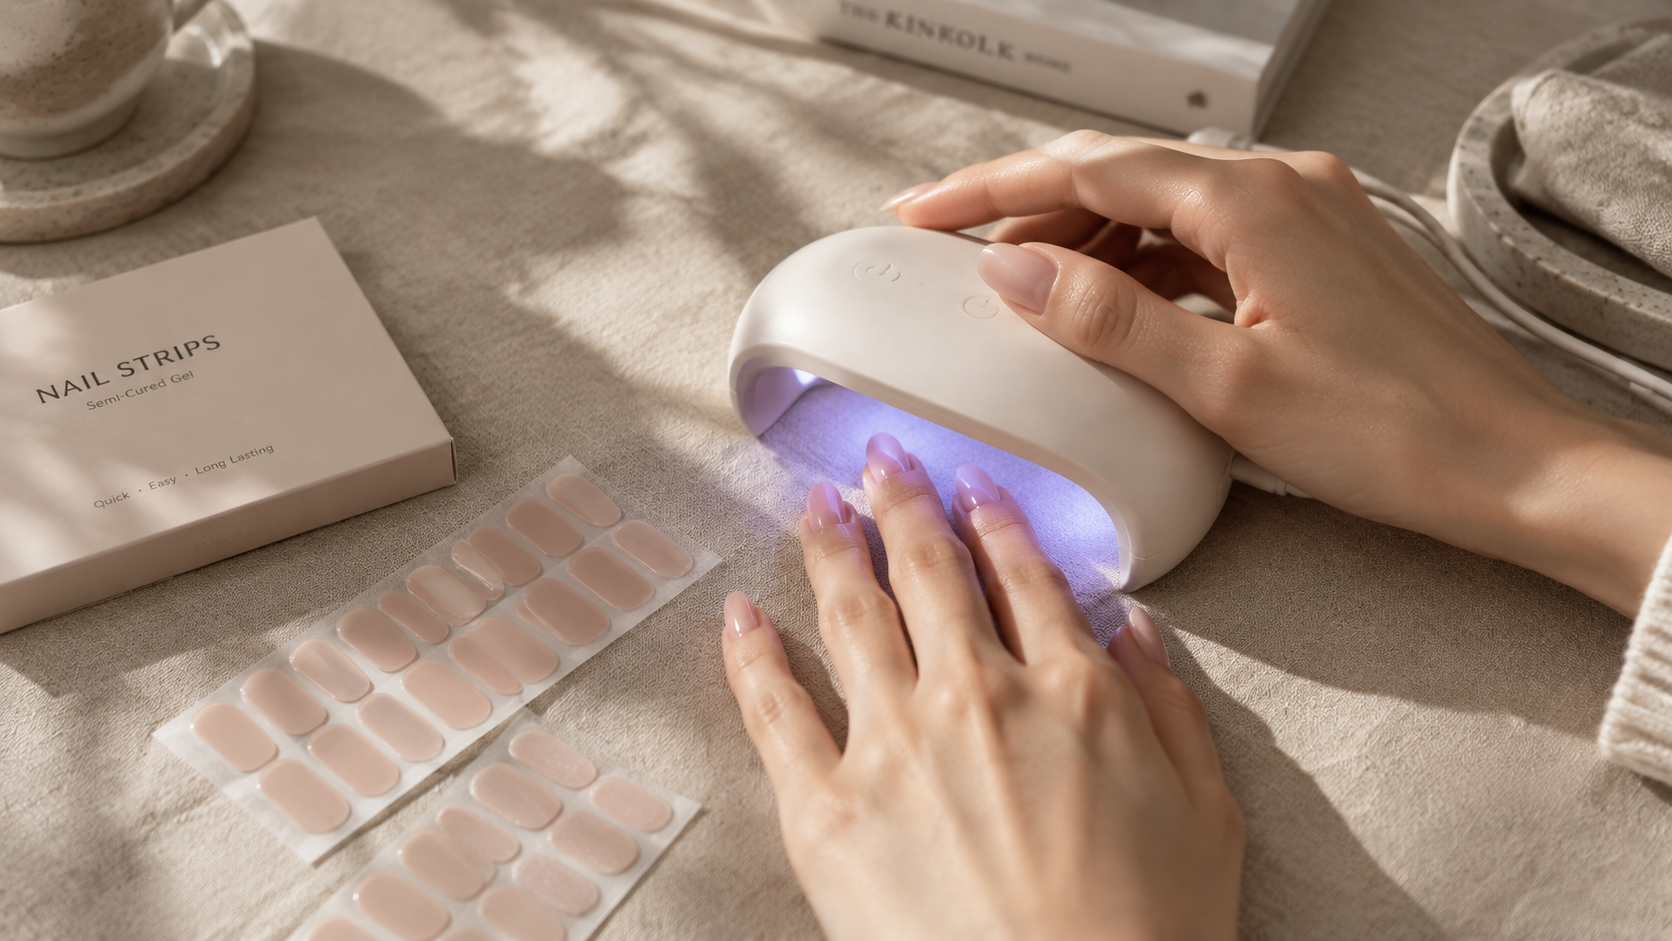
Why You Need a UV Lamp for Semi-Cured Gel Strips
Semi-cured gel strips are designed to remain pliable long enough to fit the width and curve of your natural nail. After sizing, pressing and trimming, controlled light activates the curing process specified by the manufacturer. Skipping that step can leave the strip softer and less stable than intended.
That does not mean every lamp works with every strip. “UV lamp” and “LED lamp” are often used loosely in shopping listings, while the actual wavelength, power, timer and distance from the nail can differ. For a first purchase, the lowest-friction route is a starter kit that includes its own lamp.
How Semi-Cured Gel Strip Curing Works
Gel systems contain light-responsive ingredients that form a stronger polymer network when exposed to the intended light source. The important consumer takeaway is simple: curing depends on the complete system—strip formula, lamp output, distance and exposure time. A longer cure is not automatically safer or better.
Can Sunlight Cure Semi-Cured Gel Nail Strips?
Sunlight is not a reliable substitute for an UV lamp for semi-cured gel strips. Its intensity and angle change with weather, season, glass, time of day and hand position. More importantly, the brands reviewed here instruct users to cure with a lamp, not on a windowsill.
Keep unused strips inside their light-protective package while the lamp is running. Dashing Diva specifically warns that light exposure can harden leftover Glaze strips and make them unusable.
Will a Nail Lamp Damage or Age Your Hands?
Nail-curing lamps expose the skin to ultraviolet radiation, so it is sensible to reduce unnecessary exposure. The American Academy of Dermatology recommends applying a broad-spectrum, water-resistant SPF 30 or higher to the hands before a gel manicure, or wearing dark, opaque fingerless gloves that expose only the nails.
Avoid dramatic comparisons such as “one manicure equals two minutes of sunlight.” Dose depends on the lamp, distance, exposure time and other variables. If you have a photosensitivity disorder, take photosensitizing medication, or have concerns about previous skin cancer, ask a qualified clinician before using a curing lamp.
How to Choose a UV Lamp for Semi-Cured Gel Strips
| Check | Why it matters | Best first-buy approach |
|---|---|---|
| Brand compatibility | The strip formula and lamp instructions are designed as a system. | Choose the included or brand-recommended lamp. |
| Timer | A fixed timer helps you follow the stated cure cycle. | Look for the exact time named in the strip instructions. |
| Coverage | A tiny lamp may cure one finger at a time; a wider lamp may fit several. | Choose portability or speed according to your routine. |
| Power connection | USB models are travel-friendly but require a suitable power source. | Confirm the cable and adapter before checkout. |
| Return policy | Marketplace listings and included accessories can change. | Confirm seller, contents and returns on the live listing. |
Ohora Starter Kit with Portable Gel Lamp
Ohora’s current official starter bundle lists two selectable nail designs, a portable gel lamp, glossy top gel and remover. This is a clearer purchase than matching a separate generic lamp to the strips yourself.
Check current Amazon options →Dashing Diva Glaze Starter Kit
The official Powder Pink starter kit currently lists 34 Glaze strips, a Mini LED Lamp, manicure stick, file and two prep pads. Its instructions call for one 60-second cure and no separate base or top coat.
Check current Amazon options →Shopping note: Prices, review totals, badges and sellers change. This guide does not assign invented scores or repeat temporary Amazon claims. Confirm the exact listing before purchasing.
7 Safe Rules for Using a UV Lamp for Semi-Cured Gel Strips
- Read the exact instructions first. Do not transfer the timer from another brand or product line.
- Prep clean, dry nails. Wash, shape and use the supplied prep pad to remove oil and residue.
- Keep the strip off skin. Center it just above the cuticle and size down if the maker recommends it.
- Seal the perimeter. Press from the center outward so the edge sits flat before curing.
- Trim flush to the natural nail. Dashing Diva warns that overhang can contribute to lifting, chipping or cracking.
- Use the stated lamp cycle. Repeat only when the product directions call for another cycle.
- Store unused strips away from light. Put them back in the protective package before turning on the lamp.
Application has more influence on lifting than buying the most powerful UV lamp for semi-cured gel strips. If edges still catch hair, review sizing, cuticle clearance, prep and tip trimming before increasing cure time.
UV Lamp for Semi-Cured Gel Strips: Frequently Asked Questions
Can an LED nail lamp cure semi-cured gel strips?
Often yes, but only when the strip maker identifies that lamp as compatible. “LED” describes the light source, while compatibility still depends on the product specifications.
How long should semi-cured gel strips be cured?
Follow the exact brand directions. Dashing Diva specifies 60 seconds for the Glaze starter kit; Ohora currently says to cure one or two times under a lamp. There is no responsible universal time for every formula.
Does a higher-wattage lamp cure strips better?
Not necessarily. Higher power does not correct poor fit or prep, and it may not match the formula’s directions. Compatibility and correct use matter more than buying the largest number on a listing.
Can I use the lamp included with another brand?
Check both manufacturers’ instructions before doing so. If compatibility is not stated, use the lamp recommended for your strip system.
Why are my strips still lifting after curing?
Common causes include oil or moisture, overlap on skin, an incorrect size, an unsealed cuticle edge or material extending past the natural nail.
The Practical Verdict
The best UV lamp for semi-cured gel strips is the one verified for the strips you actually use. For beginners, a starter kit removes the most uncertainty. Follow the stated timer, keep the strip off skin, protect unused strips from light and use sensible hand protection.
Next, compare finishes and starter sets in our best semi-cured gel nail strips guide, then review our gentle removal guide. You can also return to the CureMani editorial desk for application, care and trend guides.