How to Remove Semi-Cured Gel Nail Strips: 7 Gentle Steps
Ten patient minutes with remover can protect weeks of natural-nail growth. The rule is simple: when you feel resistance, add liquid—not force.
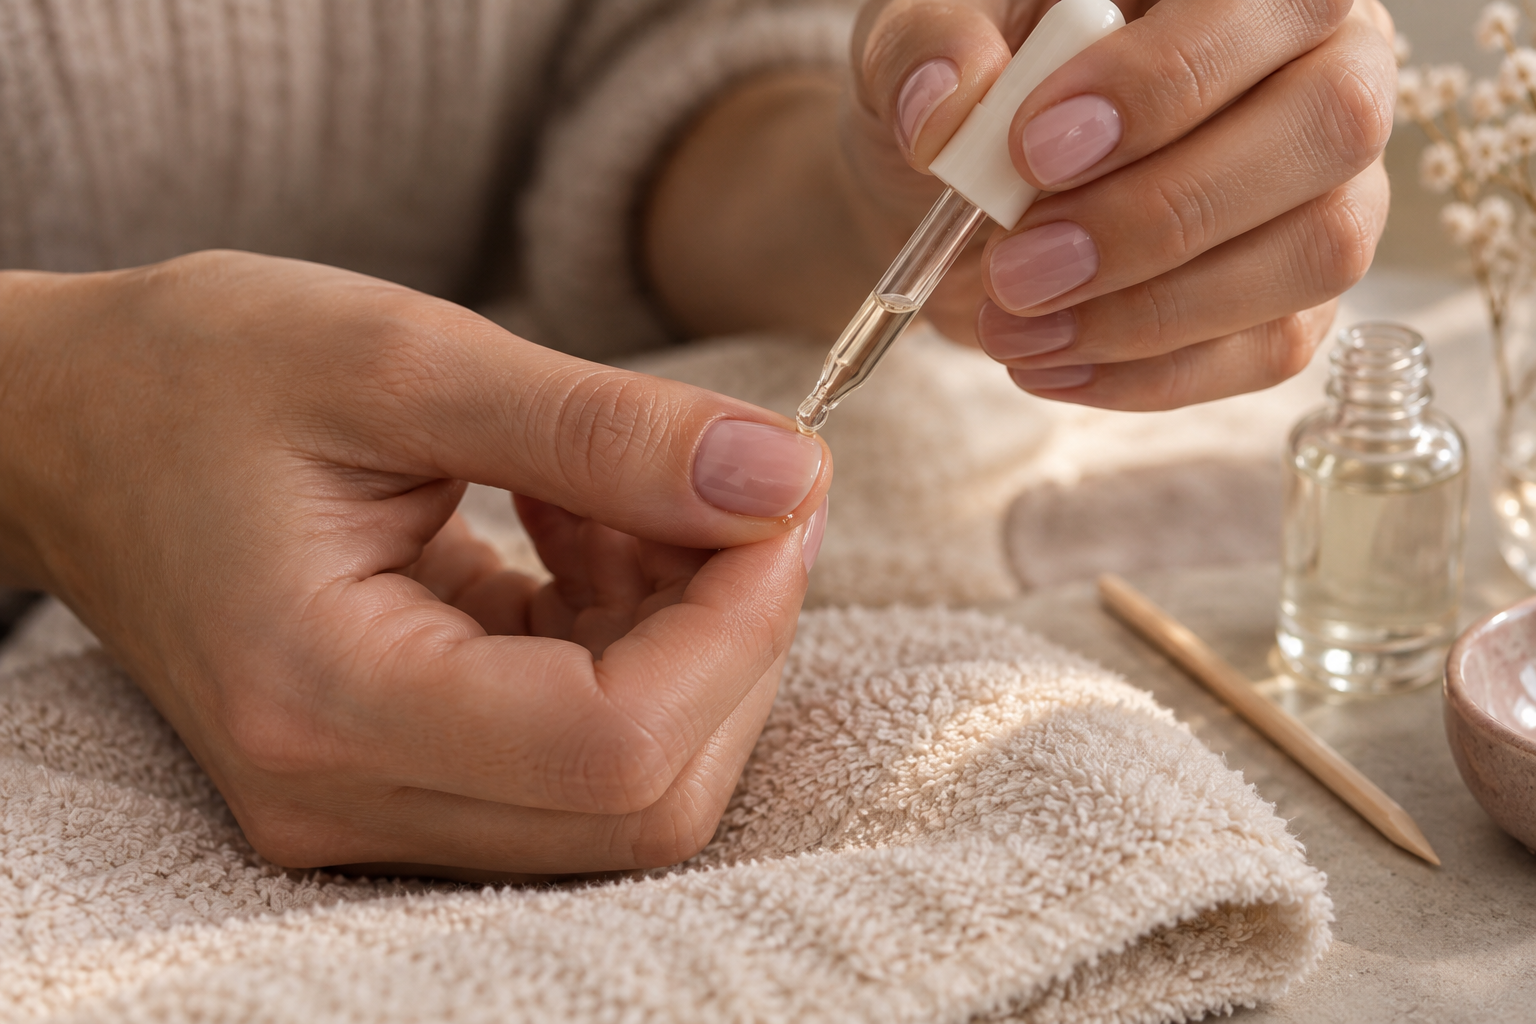
Prepare the Removal Before Opening an Edge
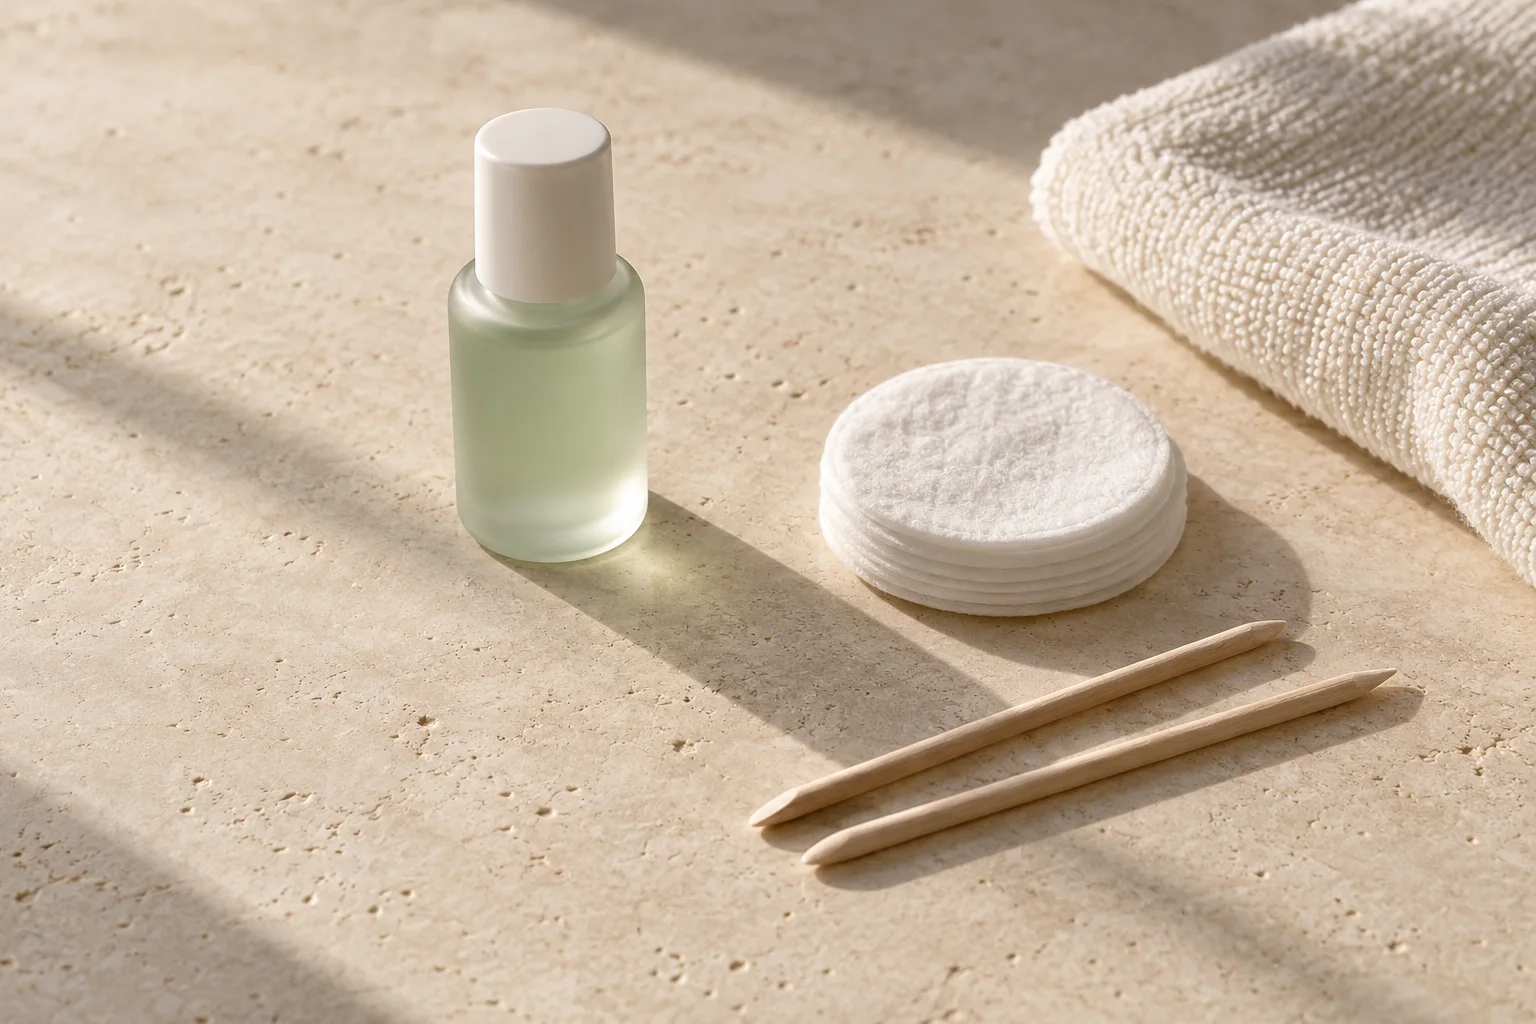
Gather the approved remover, a smooth manicure stick, lint-free wipes and a small dish or towel to protect the table. Proper preparation is essential when figuring out how to remove semi cured gel nail strips. Tie back hair and put the phone on speaker if needed; both hands will be occupied.
Inspect every nail. Note existing splits, lifted pockets, redness or discoloration. A nail that hurts or looks separated should not be treated as a routine peel. Ask a qualified professional for advice.
- Brand-approved remover or oil
- Smooth manicure stick
- Lint-free wipes
- Ten to twenty unhurried minutes
Begin Where the Brand Tells You—Not Where You Can Tear Fastest
Apply remover around the directed edge and let it travel beneath the strip. Work the manicure stick in tiny movements without digging down into the natural nail. The stick guides liquid; it should not act as a pry bar.
Some nail shapes release more easily from one side than the other. Follow the brand demonstration. If the strip feels dry or produces a pulling sensation, stop moving forward and add remover.
Use Resistance as Your Timing Signal
A released section moves with little effort. A bonded section feels tight and may bend the nail when lifted. That resistance is an instruction to pause. Hold more remover against the bond and wait.
Do not aim to remove semi cured gel nail strips in one satisfying sheet. The visual payoff is not worth surface peeling. A slow release in several stages can be the healthier-looking result.
The Add-Liquid, Not-Force Method
Saturate
Apply the approved remover at the directed edge.
Ease
Move a smooth stick only where the bond has softened.
Pause
At resistance, stop and add more remover.
Rehydrate
Wash, inspect and moisturize the bare nail.
Treat Adhesive Residue Gently
After the strip is off, some tackiness may remain. Use the approved remover and a lint-free wipe rather than scraping with a metal tool. Wash hands after the removal sequence and dry them gently.
White rough areas are not an invitation to buff until shiny. They may reflect dryness or surface trauma. Stop, moisturize and observe. Persistent change, pain or separation deserves medical assessment.
Give Bare Nails Moisture and a Clear View
The American Academy of Dermatology recommends nail hydration between gel manicures and mentions petroleum jelly as one option. Massage a small amount into nails and cuticles after washing and when the skin feels dry.
Keep nails short if the tips feel flexible. A bare interval lets you notice whether roughness improves and whether any skin reaction settles. Covering immediately with another opaque set removes that useful view.
Five Shortcuts That Cost More Time Later
Dry peeling, forcing a stick beneath the center, scraping residue, buffing away roughness and applying a new set over discomfort all exchange speed for uncertainty. None tells you whether the natural nail is healthy underneath.
If removal routinely takes much longer than the brand demonstrates, confirm that your remover is compatible and not expired, then contact support. Do not solve every difficult bond with more force.
- Never rip from one lifted corner
- Never use dental floss beneath a firmly bonded strip
- Never soak broken skin in remover
- Never share contaminated tools
- Never reuse a strip that fell on an unclean surface
What to Shop—and What to Check
Listings, sellers and prices change. These links are starting points, not claims that an item is currently a bestseller. Confirm compatibility and current directions before purchasing.
Dashing Diva Magic Off+
An official remover option for compatible Dashing Diva products; check current directions.
Ohora Easy Peel Remover
Ohora’s removal product for its system; follow the current official sequence.
Wood Manicure Sticks
Choose smooth sticks and use them only with enough remover to release the bond.
How to Remove Semi Cured Gel Nail Strips: FAQ
Can I peel off semi-cured gel nail strips?
Do not dry-peel them. Even a lifted corner can remain bonded across most of the nail.
Can I use acetone?
Use the remover specified by the strip maker. Acetone is not automatically the correct method for every adhesive.
Can cuticle oil remove gel strips?
Some brands, including Dashing Diva for Glaze, currently allow cuticle oil as an option. Confirm your exact product.
Why do my nails look white after removal?
Dryness or surface trauma may contribute. Moisturize, avoid buffing and seek advice if the change persists.
How long should removal take?
There is no universal time. Let resistance rather than a stopwatch control your pace.
Can I apply a new set immediately?
Only if nails and skin look and feel normal. A bare interval is sensible after dryness, tenderness or roughness.
When should I get help?
Seek professional care for pain, swelling, rash, nail separation, drainage or unexplained color change.
A beautiful set should leave gracefully
The central lesson in how to remove semi cured gel nail strips is that the remover does the releasing and your hand follows. The moment you feel resistance, slow down.
Judge the manicure by the bare nails it leaves behind. Gloss may earn the first compliment, but patient removal earns the next healthy-looking set.
4 thoughts on “How to Remove Semi-Cured Gel Nail Strips: 7 Gentle Steps”