CureMani / The removal guide
How to Remove Semi-Cured Gel Nails: A Gentle Guide
Four practical steps, the right remover, and a little less temptation to peel.
Go straight to the steps ↓
How to remove semi cured gel nails: identify your strip brand, use its recommended remover, and release the adhesive gradually with the recommended tool. If the strip pulls on your natural nail, stop. Don’t turn a lifted corner into a dry peel.
First, match your remover →That lifted corner is tempting. Leave it alone for a moment.
Maybe your thumb has started catching in your hair. Maybe you’re ready for a different color. Either way, it’s easy to start picking before you’ve found the remover. Put the bottle and a towel in front of you first. The next few minutes are easier when you have what you need within reach.
This guide is for semi-cured gel nail strips: the flexible, partly cured strips you apply and finish under a compatible lamp. Brush-on gel polish, glued-on tips and adhesive-tab press-ons can have different removal instructions. If you’re unsure which one you’re wearing, check your order history or the packaging before starting.
You don’t need a five-product routine just to take off one set. A compatible remover, the recommended manicure tool and a few cleanup supplies are usually the useful starting point. We’ll separate those from the extras, so you can buy for the manicure you actually have.
Oil, remover or acetone?
Start with the name on your strip packet. “Gel remover” describes several different products, and a familiar-looking bottle isn’t enough to confirm a match.
Check your remover’s own directions.
Ohora’s strip tutorial names Easy Peel Remover. Its US store also sells Green Tea 3-in-1 Nail Remover for strips, tips and polish. These product names shouldn’t be treated as interchangeable instructions: use the directions supplied with the bottle you buy.
Read ohora’s strip tutorial ↗Look for the Glaze removal method.
Dashing Diva’s Glaze FAQ specifies cuticle oil, such as Magic Off+, with slow removal using a manicure stick. Its One Gel polish has a different remover called One Gel Magic Off. Check the full name before adding anything to your cart.
Read Dashing Diva’s FAQ ↗Find the label before experimenting.
Look up the exact range, not just the company name. If the instructions aren’t available, ask the manufacturer. An oil method from a different brand isn’t a reliable substitute, and a video showing gel-polish removal may be teaching a different process.
What about acetone? ↓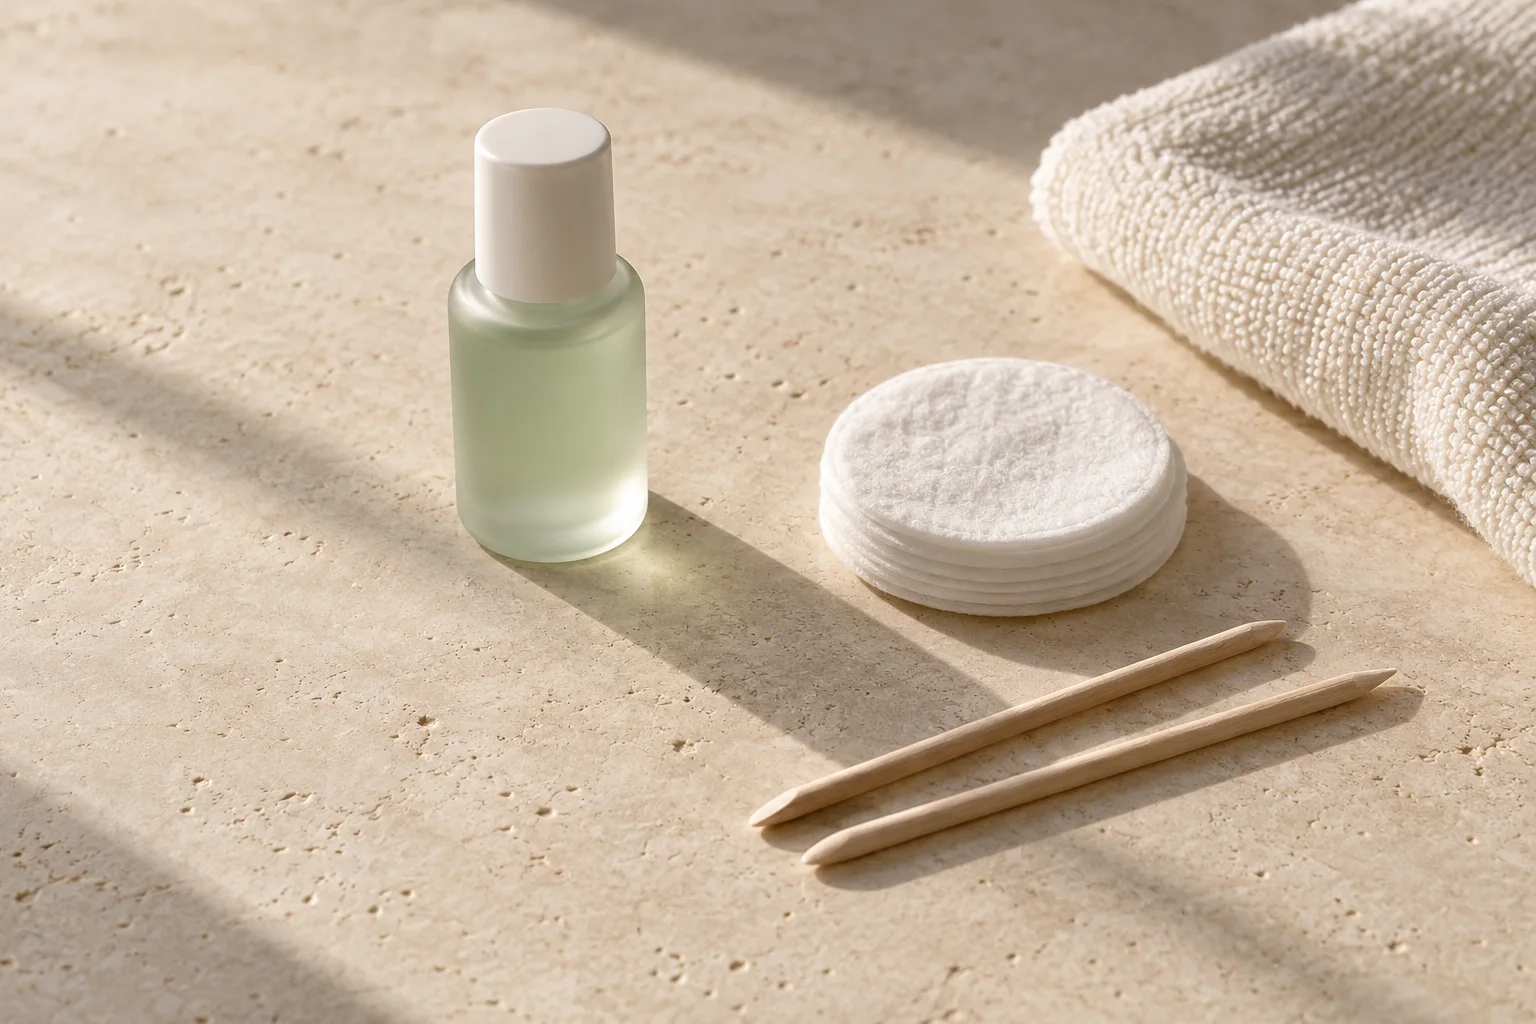
Put these beside you.
- Your strip-compatible remover, with its label.
- The supplied or manufacturer-recommended manicure stick.
- Cotton pads or the cleanup supplies named in the directions.
- A towel and a surface protected from spills.
- Your usual hand moisturizer for afterward.
Open any awkward caps before you start, sit somewhere well lit, and work on one hand at a time. Follow the label’s ventilation and handling precautions. Keep the bottle away from children, pets and sources of heat.
You can leave the nail lamp packed away. It doesn’t belong in the removal routine.
How to remove semi cured gel nails in 4 steps
Use this as a checklist alongside your product instructions. The bottle label decides how much to use and how long to wait; this guide isn’t a replacement for those details.
Identify the product and prepare.
Match the strip system to its removal instructions, then read the remover label before opening it. Check whether you added a separate gel top coat or another product during application; that can change the method you need.
Look at the nail and surrounding skin. If there is soreness, swelling, broken skin or an unexplained change under the strip, don’t dig underneath to investigate. Get advice instead of pushing through.
Apply the remover where directed.
Follow your brand’s placement and waiting instructions. A corner that’s already loose may provide access, but don’t pry up a firmly attached strip simply to create an opening. Give the product its instructed contact time.
This is a good point to put your phone down. Trying to remove a strip while answering messages makes it harder to notice how much pressure you’re using.
Release a little at a time.
Use the recommended tool and direction of movement from your brand’s tutorial. Keep the motion small and controlled. You should be checking whether the adhesive is letting go, rather than trying to lever the whole strip off at once.
If it stays firmly attached, pause and consult the product directions for the next application or waiting step. Don’t switch to a sharper tool. If the recommended method isn’t working, contact the manufacturer or an experienced nail professional.
Clean up, then look at the bare nail.
Use the label’s cleanup method for leftover adhesive. Don’t keep scraping until the surface feels perfectly smooth. A sticky patch and a rough nail surface aren’t the same thing, and more pressure isn’t a useful way to tell them apart.
Finish the hand-cleaning steps on your product label, dry your hands, and inspect your nails before deciding on another manicure. A simple moisturizer is a comfortable finishing step for dry nails and surrounding skin.
What to do when removal isn’t going smoothly
The corner lifts, but the middle won’t move.
A loose edge doesn’t tell you how strongly the rest is attached. Don’t pull from the raised section. Return to the product’s removal directions and let those determine your next step.
One nail is taking much longer.
It doesn’t have to match the other nine. Put the tool down instead of trying to keep the same pace. A set that comes off quickly in a short video isn’t a useful timer for your own manicure.
There’s sticky residue afterward.
Use the strip maker’s recommended cleanup product. Avoid substituting a coarse file or a metal scraper. If you can’t tell whether the patch is residue or a change in the nail, stop working on it.
It hurts, burns or feels irritated.
Stop using the product and follow its first-aid instructions. Persistent or worsening pain, redness, swelling, nail separation or unusual discoloration needs assessment by a healthcare professional. Don’t hide it under a fresh set.
A small removal shelf,
with a reason for each pick.
You only need the option that fits your strips. Start with a standalone remover if that’s all you’re missing; a new manicure kit is optional.
Affiliate disclosure: As an Amazon Associate I earn from qualifying purchases. If you buy through a paid link below, CureMani may earn a commission at no extra cost to you.
Green Tea 3-in-1 Nail Remover
The brand lists this as a non-acetone remover for nail strips, tips and polish. Check the bottle’s directions for your application. The ingredient list includes fragrance, so “green tea” doesn’t mean fragrance-free.
Buy it if: you need a compatible remover and don’t want another packet of strips.
View remover on AmazonPaid link · Opens AmazonMagic Off+ Remover — 3-Pack
Magic Off+ is named in the brand’s Glaze removal guidance. This Amazon listing contains three 30 mL bottles and eight wooden manicure sticks. It is a multipack, not a single bottle.
Buy it if: you wear Glaze regularly and want a supply for future removals. If you only need one bottle, compare pack sizes before buying.
View remover on AmazonPaid link · Opens Amazonohora N Heimish + 3-in-1 Remover Set
This listing combines N Heimish nail strips with remover. It isn’t a bottle-only purchase and doesn’t include a lamp. Choose it only if you also want that nail design and already have the appropriate curing setup. If you just need removal supplies, compare the single bottle first.
These are editorial selections based on product information, not a hands-on comparison. Check the selected variant, contents, seller and current price before ordering. The care photographs show illustrative setups, not these products in use.
Now give your nails a quiet evening.
You don’t have to turn aftercare into another shopping list. Use a moisturizer you already tolerate on your nails and the skin around them. Put it somewhere you’ll remember it after washing your hands.
The American Academy of Dermatology advises moisturizing between gel manicures and taking breaks from polish. It also advises against picking gel products off. Its guidance concerns gel manicures generally; your strip brand still determines the removal method.
If your nails feel sore or look flaky, skip the next set and avoid buffing away every uneven patch. New color can wait. If a change persists or worsens, get it checked rather than trying to treat it with a cosmetic nail product.
When you’re ready to apply again, our step-by-step application guide walks through sizing, preparation and curing. Keep the new packet’s instructions until that manicure comes off, too.
Before you put the remover away
Can I remove semi-cured gel nails without acetone?
Some systems have a non-acetone removal method. Check the directions for your exact strips and remover rather than assuming every gel product needs an acetone soak. Non-acetone also doesn’t automatically mean suitable for every person or product.
Will warm water remove them?
Don’t treat a bath or a warm-water soak as a universal removal method. Check what your strip maker actually recommends. If a corner loosens in water, the rest of the strip can still be attached; that isn’t permission to pull it off.
Can I use cuticle oil instead of buying remover?
Only where your strip maker allows it. An oil you already own may be enough for a compatible system, so check before buying anything. Don’t assume that aftercare oil and adhesive remover perform the same job across every brand.
How many minutes does removal take?
Use the waiting times on your own product label. There isn’t one time that applies to every strip, remover and wear condition. Leave yourself enough space to pause instead of fitting removal into the last minute before you leave home.
Do I need a drill, foil wraps or a whole removal kit?
Buy only the supplies your product’s instructions call for. Don’t add a drill or a scraping tool simply because it’s bundled with a remover. Check the original strip packet first: you may already have the recommended manicure stick.
Why are my nails white or rough afterward?
A photo or a color change alone doesn’t tell you the cause. Don’t keep filing to make it disappear. Follow the recommended cleanup method, leave the nail alone if it’s uncomfortable, and seek professional advice for changes that persist.
Can I reuse a strip once it’s removed?
Check the manufacturer’s instructions rather than trying to stick a removed strip back on. Save untouched leftover strips as directed on the original packet, separately from used ones.