How to Cure Semi-Cured Gel Nails: 5 Practical Checks
A calm, brand-checked guide to lamp compatibility, positioning, cure time and finish—so you can avoid guesswork without over-curing your manicure.
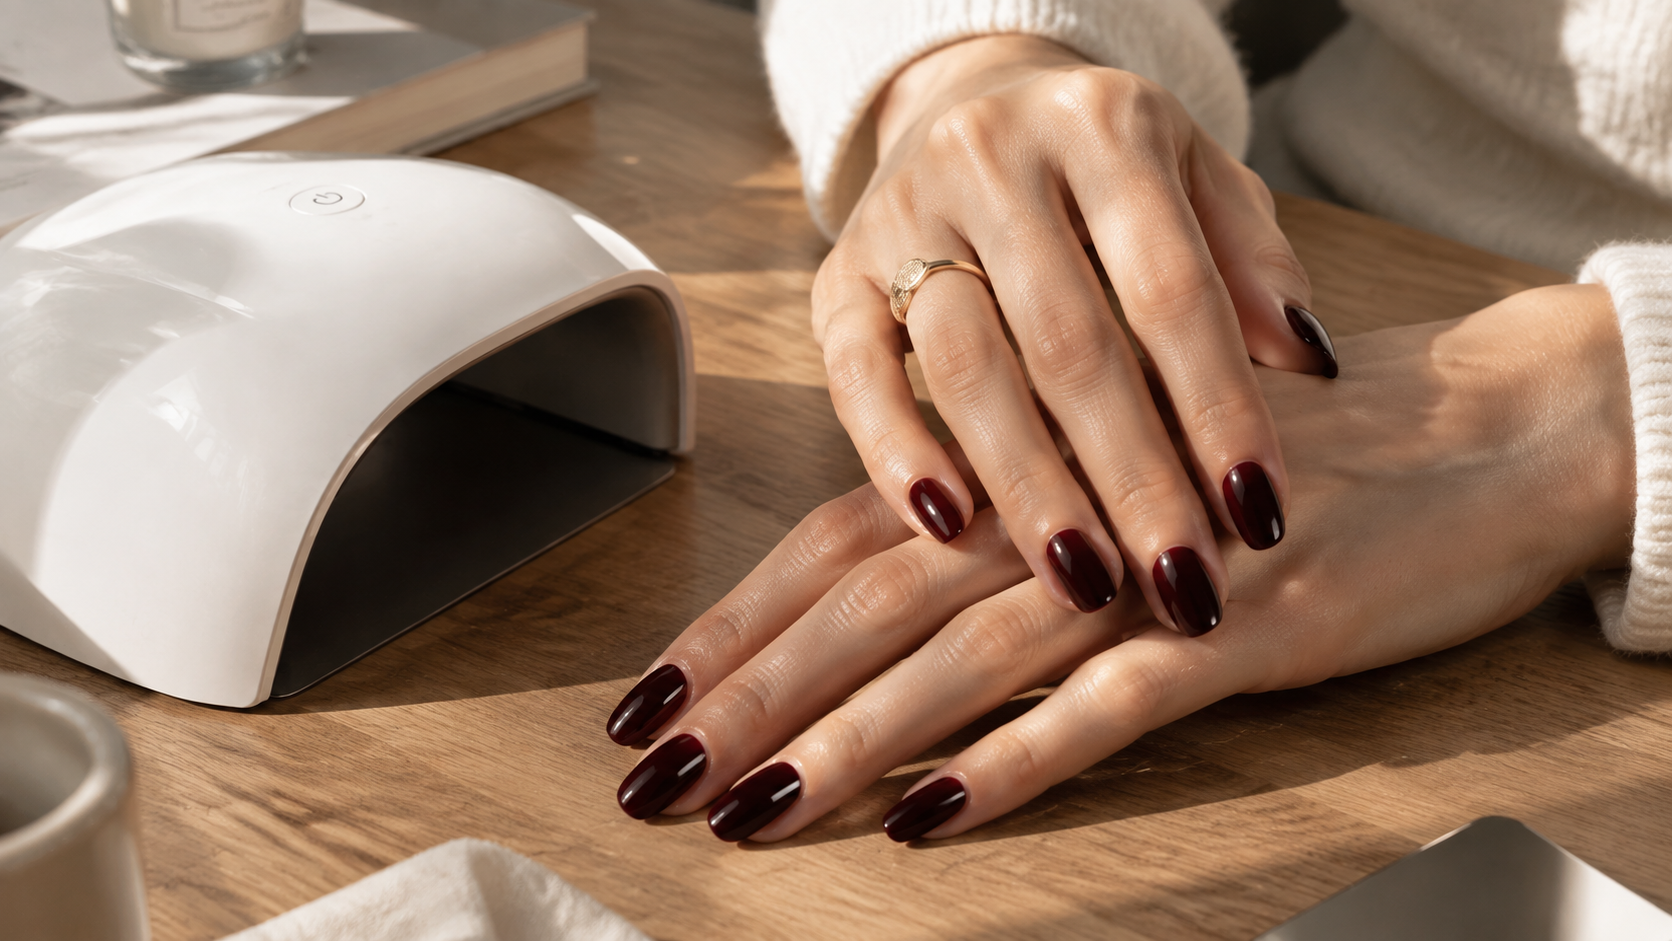
Learning how to cure semi cured gel nails can feel confusing because lamp listings emphasize watts, wavelengths and speed, while strip packages often provide only a short timer instruction. The most reliable way through that confusion is to treat the strip and lamp as one system.
Ohora currently tells users to cure its semi-cured strips one or two times under its lamp. Dashing Diva’s instructions for standard Glaze specify one 60-second cycle under the Mini LED Lamp. Those differences are exactly why a blanket “always cure twice” rule is less trustworthy than the directions for the product in your hands.
What Curing Does to a Semi-Cured Strip
Anyone researching how to cure semi cured gel nails should first understand that curing is a product-specific finishing step, not simply “drying” the strip with the strongest available light.
A semi-cured strip arrives flexible enough to fit across the nail. Exposure to the compatible curing lamp activates light-sensitive components in the gel system and hardens the applied strip. The simplified consumer term is “curing”; the underlying process is photopolymerization.
The practical point is more useful than dramatic chemistry language: a lamp must deliver light the particular formula can use, across the whole nail, for the amount of time its maker specifies. High wattage alone does not prove compatibility, and a longer cycle does not automatically create a safer or more durable finish.
System
Match the strip with a lamp the brand identifies as compatible.
Position
Keep the entire nail surface within the lamp’s curing area.
Cycle
Use the stated time and repeat only when the maker permits it.
Finish
File or top-coat only in the sequence approved for that product.
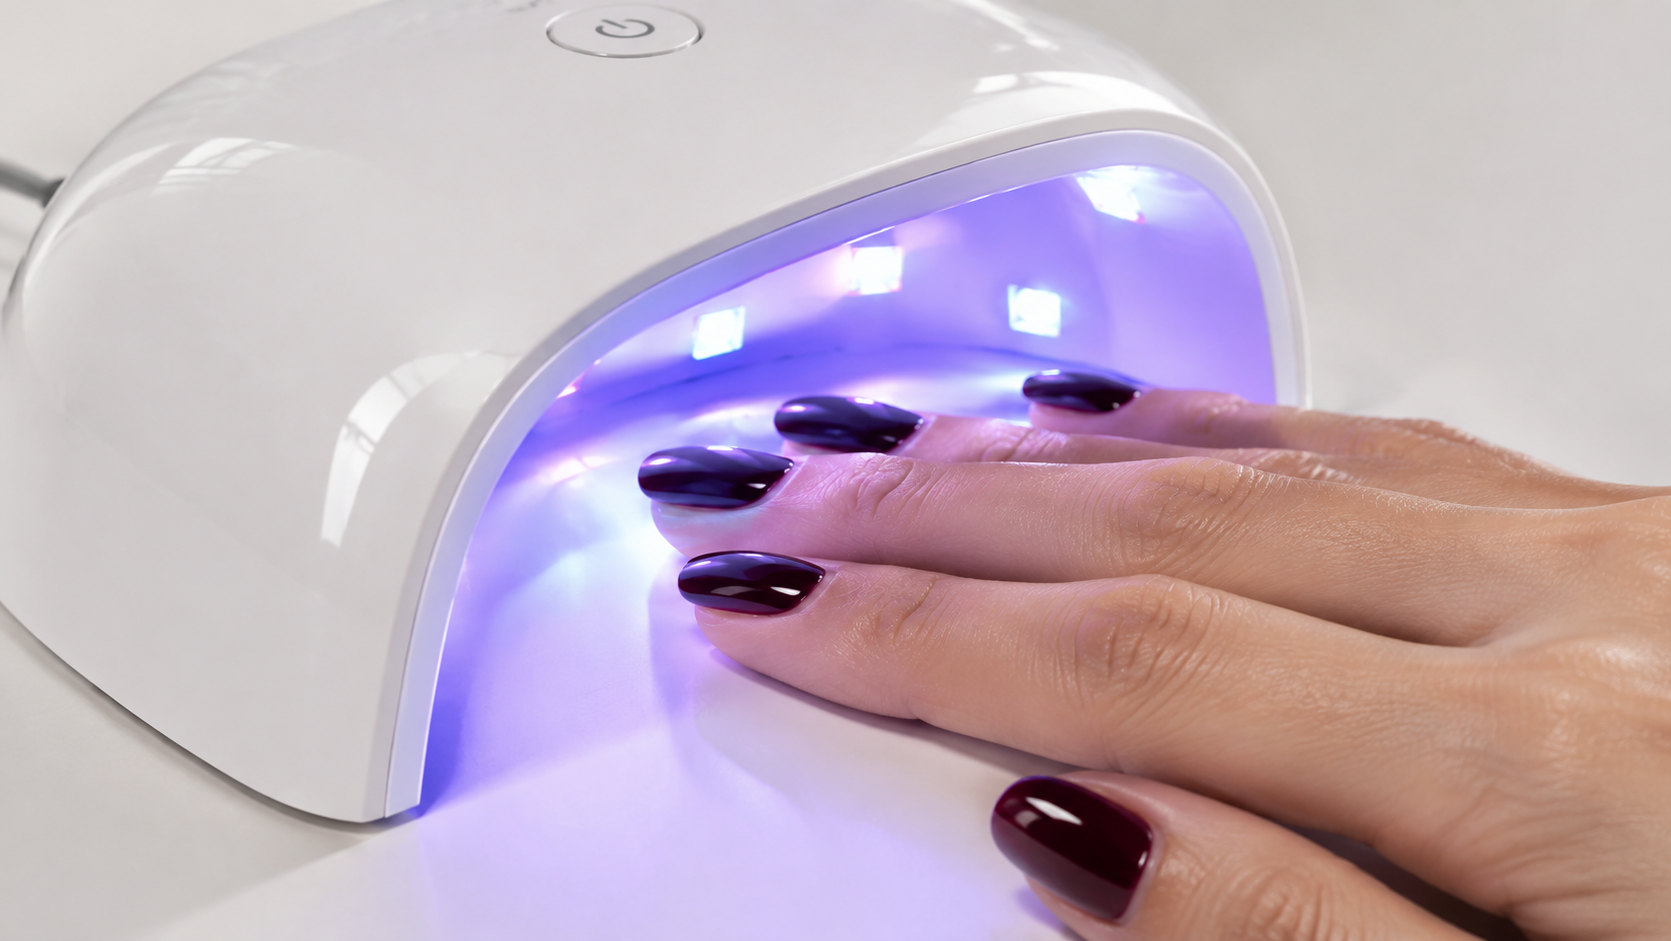
How to Cure Semi Cured Gel Nails in 5 Rules
Use these how to cure semi cured gel nails rules as a decision framework. Your package remains the final authority for the exact lamp, timing and finishing sequence.
Match the lamp to the strip system
Before application, check the manufacturer’s lamp recommendation and cure time. Do not assume that every pocket lamp, salon dome or product using the phrase “UV/LED” is interchangeable.
Protect every unused strip from curing light
A complete how to cure semi cured gel nails process also protects the next manicure. Return the remaining sheet to its light-protective sleeve or carton before turning on the lamp. Dashing Diva specifically warns that LED exposure can harden unused Glaze strips and make them unusable.
Place the whole nail beneath the LEDs
Center the fingers in the lamp’s active area. A thumb naturally turns sideways when all five fingers rest flat, so cure it separately when the brand or lamp design calls for that position.
Run the stated cycle—then reassess
The timer is central to how to cure semi cured gel nails correctly. Use the cycle printed for your exact system. Standard Dashing Diva Glaze currently calls for one 60-second cure. Ohora currently directs users to cure its semi-cured strips one or two times. Do not replace those instructions with a universal two-minute rule.
Finish in the correct order
Some systems direct users to trim before curing and file afterward. Others give a different sequence. A top coat is optional only when the strip maker says it is compatible; it is not a universal cure for tackiness or lifting.
Four Curing Myths Worth Retiring
A trustworthy how to cure semi cured gel nails guide should make the next decision easier, not frighten readers with unsupported laboratory language.
Wattage describes power consumption or output context, not automatic formula compatibility. Choose the brand-approved lamp rather than the largest number.
Some brands allow or recommend a second cycle; others specify one. Use the exact instructions instead of a site-wide rule.
A tacky surface can have several causes, including a compatible top coat with a dispersion layer or incomplete curing. Semi-cured strip systems are not all formulated the same way.
Do not wipe a newly cured strip with solvent unless the product directions say to do so. The wrong liquid can cloud, soften or otherwise change a finish.
These distinctions make a how to cure semi cured gel nails guide less dramatic, but much more useful. Accurate instructions build more trust than invented temperature readings, polymer percentages or scratch-resistance scores.
Diagnose the Result Without Guessing
Use this how to cure semi cured gel nails diagnostic only after checking the exact package directions. The same symptom can have different causes across strip, top-coat and lamp systems.
Check that the lamp is compatible, powered correctly and positioned over the whole nail. Review whether the specific shade or design permits another cycle.
Consult the product directions before wiping or adding top coat. A semi-cured strip, a gel top coat and gel polish may each use different finish steps.
Remove the hand from the lamp. Do not normalize burning. Weak, thinned or damaged nails may be more sensitive, and ongoing pain should be assessed professionally.
Curing may not be the original problem. The strip could overlap skin, extend beyond the natural nail or have oil and residue beneath an edge.
The thumb may have sat outside the direct curing area. Check the lamp diagram and cure it in the recommended position if the brand permits.
Confirm whether the design is intended to be glossy and whether a compatible top coat is optional. Do not add an unrelated gel product solely for shine.
If the problem began with sizing or edge placement, revisit our semi-cured gel strip application guide. Correct curing cannot repair a strip that is already attached to skin.
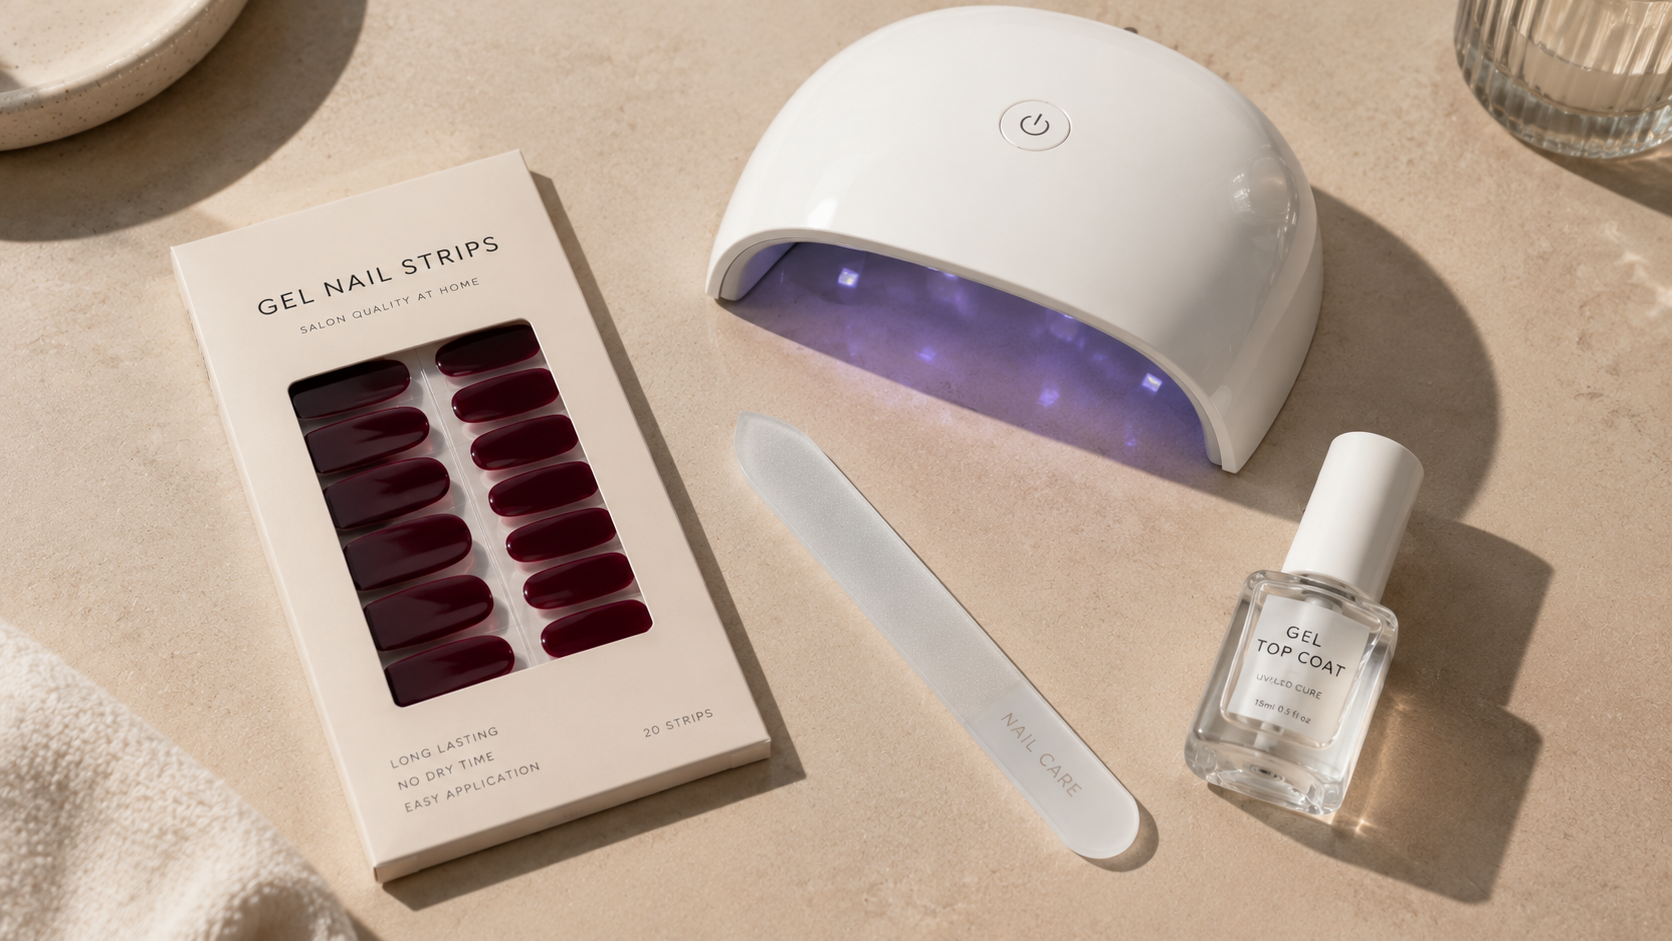
A Smarter Curing Shopping Edit
A useful how to cure semi cured gel nails shopping edit should come from clarity, not fake verification badges. Before purchasing, check the current listing for the brand, lamp compatibility, included cable or adapter, cure timer, return policy and seller.
Pocket UV/LED Lamp
A compact lamp can be convenient, but its usefulness depends on whether your strip maker supports it. Read the current specification and strip instructions before ordering.
Check current Amazon listing →Ohora Semi-Cured Gel
Ohora publishes its own lamp and one-to-two-cycle guidance. A complete system reduces uncertainty for readers who prefer not to mix components.
Check current Amazon listing →Dashing Diva Glaze
Dashing Diva publishes current Glaze application instructions and specifies one 60-second cure with its Mini LED Lamp for standard Glaze.
Check current Amazon listing →We removed the earlier top-coat recommendation from the main three picks because a separate gel top coat is not required or approved for every strip system. If your brand permits one, compare the directions before using the existing Amazon top-coat listing.
Curing-Light and Nail-Care Notes
Safety is part of how to cure semi cured gel nails well. Correct timing matters, but so do comfortable hands, intact skin and knowing when a reaction needs professional attention.
Protect the manicure
- Keep unused strips covered.
- Use the compatible lamp and timer.
- Position nails within the active light area.
- Do not pick at a strip that later lifts.
Protect your hands
- Remove the hand if curing hurts.
- Do not stare directly into the lamp.
- Consider sunscreen or opaque fingerless gloves.
- Pause use when skin or nails show persistent changes.
The American Academy of Dermatology advises that gel manicures can contribute to brittleness, peeling or cracking. Its current guidance recommends broad-spectrum, water-resistant SPF 30+ sunscreen on the hands or dark, opaque fingerless gloves before curing-light exposure. It also advises against picking gel products.
Understanding how to cure semi cured gel nails includes knowing when to stop. Persistent redness, swelling, itching, pain or nail separation is a reason to discontinue the product and seek appropriate medical advice.
How to Cure Semi Cured Gel Nails: FAQ
How long should I cure semi-cured gel nail strips?
Use the time printed by the manufacturer for the exact strip and compatible lamp. Dashing Diva currently specifies one 60-second cycle for standard Glaze, while Ohora currently describes one or two cycles for its semi-cured strips.
Can I use any UV or LED nail lamp?
When deciding how to cure semi cured gel nails, do not assume every lamp is interchangeable. Match the product to a lamp the strip manufacturer identifies as compatible, especially when working with thick, opaque or embellished designs.
Should I cure my thumbs separately?
It can help when the thumb would otherwise sit sideways or outside the lamp’s active area. Follow the positioning diagram supplied with your lamp and strip system.
Why do my strips still feel flexible after curing?
Some cured strips retain a degree of flexibility. Compare the result with the brand description. If it is unusually soft, check the lamp, power source, position and permitted number of cycles.
Can I add a non-wipe top coat?
Only if the strip maker says the product is compatible. A separate top coat introduces another formula and curing requirement, so it should not be treated as a universal finishing step.
Does a stronger lamp make strips last longer?
Not necessarily. Wear also depends on preparation, sizing, placement, trimming, daily habits and removal. A higher wattage label does not guarantee compatibility or longer wear.
What should I do if the lamp causes burning?
Remove your hand immediately and stop the cycle. Do not force yourself through pain. If sensitivity continues or the nail is already thin or damaged, seek professional advice before further gel use.
Use the system, not a shortcut
The reliable answer to how to cure semi cured gel nails is not the biggest lamp or the longest timer. It is a compatible strip-and-lamp system, full light coverage, the stated cycle and a finish step approved by the maker. That approach is easier to repeat—and much easier to trust.