THE POOLSIDE EDIT
Gel Strips and Swimming: 7 Practical Holiday Care Tips
Pool days, warm evenings and a manicure that fits the holiday.
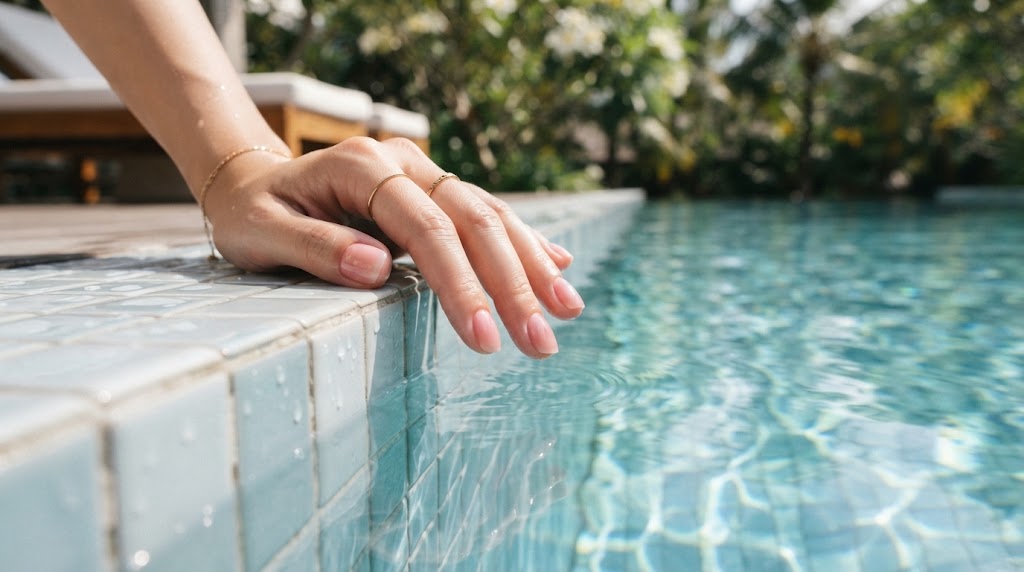
Gel strips and swimming can fit into the same holiday. The trick is to plan your manicure around the product’s instructions, rather than treating a glossy finish as a promise that nothing can get underneath it. A pool afternoon is one thing; applying a fresh set in the hotel room and jumping straight into the water is another.
Apply and cure your strips exactly as directed, respect any stated waiting period before water exposure, and check for loose edges after swimming. Remove a compromised strip properly instead of sealing trapped moisture underneath it. No manicure needs to be more important than comfortable, healthy-looking nails.
This is a practical care guide, not an underwater wear test. Your brand, application, nail condition and activities all affect the result. We can help you avoid preventable mistakes; we cannot promise a particular number of pool days.
1. Plan gel strips and swimming before your suitcase closes
Give yourself a calm application window. A set applied while you are hunting for your passport is unlikely to get your best sizing and edge checks. Choose a time when your nails are ready for the recommended preparation and you will not need to shower immediately afterward.
For example, Dashing Diva’s Wishing Well Glaze directions say to avoid water, lotion and oil for at least one hour after application. That is a product instruction, not a universal rule for every strip. Read the instructions for the exact set in your bag.
The useful question is not “Can I make every brand wait the same amount of time?” It is “Have I allowed enough time to complete this brand’s routine properly?” Scheduling makes that much easier. Finish your shower, unpack your tools, then decide whether the remaining evening is actually suitable.
2. Separate ordinary washing from prolonged soaking
Please keep washing your hands. A manicure is not a reason to skip normal hygiene. Think instead about the activities that keep your hands wet for longer: a leisurely bath, several hours at the pool, washing dishes without gloves, or repeatedly sitting in a hot tub.
These activities differ in temperature, duration and what your fingers touch. There is no honest one-line formula that predicts exactly how each will affect your particular set. Treat very long exposure as something to monitor, especially if an edge was already imperfect before you got in.
For chores, suitable household gloves can reduce direct water and detergent contact. Dry your hands before putting them on, and change the routine if the gloves become uncomfortable or damp inside. At the pool, the useful habit is simpler: enjoy yourself, then dry your hands and take a quick look.
3. Check the corners, not just the shine
A manicure can still look beautifully glossy while a small side edge has lifted. Look at the corners near the skin and the free edge. You are checking for a visible gap, a catching edge, or material that has shifted. Do not poke a tool underneath to investigate.
The point is to notice a problem early, before you spend another afternoon pressing it down with a fingernail. If a strip has started catching hair or fabric, that is useful information. Our guide to why semi-cured gel nails lift explains the difference between fit and preparation issues.
Do not add glue, gel or top coat into a gap as an improvised repair. You cannot confirm that the space underneath is clean and dry simply by looking at the surface. Follow the manufacturer’s removal process and decide whether a replacement is appropriate after you can see the bare nail.
4. Build a small after-pool routine
Start with normal washing or rinsing as appropriate, then dry your hands gently. You do not need an elaborate five-product ritual. Take a moment to notice whether the edges feel the same as before. If everything is comfortable and secure, move on with your day.
Use your usual hand care in line with the strip brand’s directions. Keep the timing distinction clear: restrictions immediately after application do not automatically mean you must avoid hand cream for your entire holiday. Equally, a product labelled “nail oil” is not a treatment for a damaged or inflamed nail.
If you notice pain, itching, swelling or a change that concerns you, pause the manicure routine and seek appropriate medical advice. Do not cover an unexplained change with a darker shade. A pretty holiday photograph can wait; discomfort is not something you need to style around.
5. Pick a holiday shape you can live with
Your manicure is sharing the trip with luggage zips, sunscreen caps, beach bags and restaurant menus. A familiar, manageable length usually makes more sense than experimenting with a dramatic shape on departure morning. Choose what feels easy in your actual hands.
A simple colour also makes a single replacement less conspicuous than a very specific ten-finger pattern. If you prefer a design, photograph the arrangement before applying it. That gives you a reference if you later replace one finger using a spare from the original sheet.
Do not stretch a strip beyond the nail to create a homemade extension unless that exact product is designed for it. Standard semi-cured strips and purpose-built extensions are different products. For style ideas that work with practical lengths, see our vacation nail ideas.
6. Pack for one repair, not a portable salon
A travel kit should solve a likely problem. Include the original instructions, the brand-appropriate removal supplies, a small file if permitted for your journey, and useful spare sizes in their protective packaging. A loose strip rolling around a cosmetics bag is not a reliable backup.
Protect the remaining strips from curing light and follow their storage directions. Our gel strip storage guide explains how to keep leftovers organised without confusing unused pieces with previously worn ones. Bring your lamp only if you intend to apply compatible semi-cured replacements and can transport it appropriately.
| Holiday situation | Useful response | Avoid |
|---|---|---|
| Fresh application before a swim | Follow the exact waiting instructions | Assuming all brands share one rule |
| Secure edges after an afternoon out | Dry, inspect and continue normal care | Picking at a sound strip |
| A corner starts catching | Plan proper removal and reassess | Gluing the corner shut |
| One spare strip is needed | Use an unused compatible size | Reusing a peeled-off strip |
| A nail becomes uncomfortable | Stop and assess the problem | Hiding it under another set |
7. Keep wear expectations realistic
If you are comparing products, look for the conditions behind any longevity claim. Was it a manufacturer’s “up to” statement, one person’s experience, or a documented trial? A beach holiday with daily swimming is not automatically comparable to an office week.
Keep a tiny note of application date, water-heavy days and the first finger that needed attention. That gives you a better basis for your next purchase than deciding a product is either perfect or useless after one trip. You may discover that fit, rather than colour or price, mattered most.
Above all, do not keep a failing set on just to reach the number on the box. The right wear time ends when the product needs to come off or your nails need attention. Our wear-time guide helps put advertised duration in context.
Questions before you dive in
Can I shower with semi-cured gel strips?
Follow the brand’s post-application waiting period first. After that, normal showering is part of everyday wear, but it does not make a loose edge safe to ignore. Check the set if anything starts to catch.
Does chlorine automatically ruin a manicure?
There is no useful guarantee either way for every product and pool visit. Exposure and application vary. Do not confuse a still-shiny surface with proof that all the edges remain secure.
Should I add extra top coat before swimming?
Only use a compatible product if the strip manufacturer allows it. Extra top coat is not a substitute for correct fit, proper curing or removal of a lifted strip.
Can I cure a wet, lifted strip back into place?
Do not treat another lamp cycle as a repair for a gap underneath the strip. Follow removal instructions, inspect the nail and use a fresh piece only when appropriate.
What is the best poolside nail colour?
That is a style choice. Coral, milky pink and a clean French tip are easy starting points, but choose a colour you enjoy in daylight. Care and fit matter more to this guide than the shade.
Your holiday plan: apply without rushing, follow the label, keep a small repair kit, and check the edges. The goal is a manicure you can enjoy while living your holiday.