THE SANDAL SEASON GUIDE
Semi Cured Gel Pedicure: 7 Steps for a Better Fit
A considered pedicure, from the first size check to the sandals.
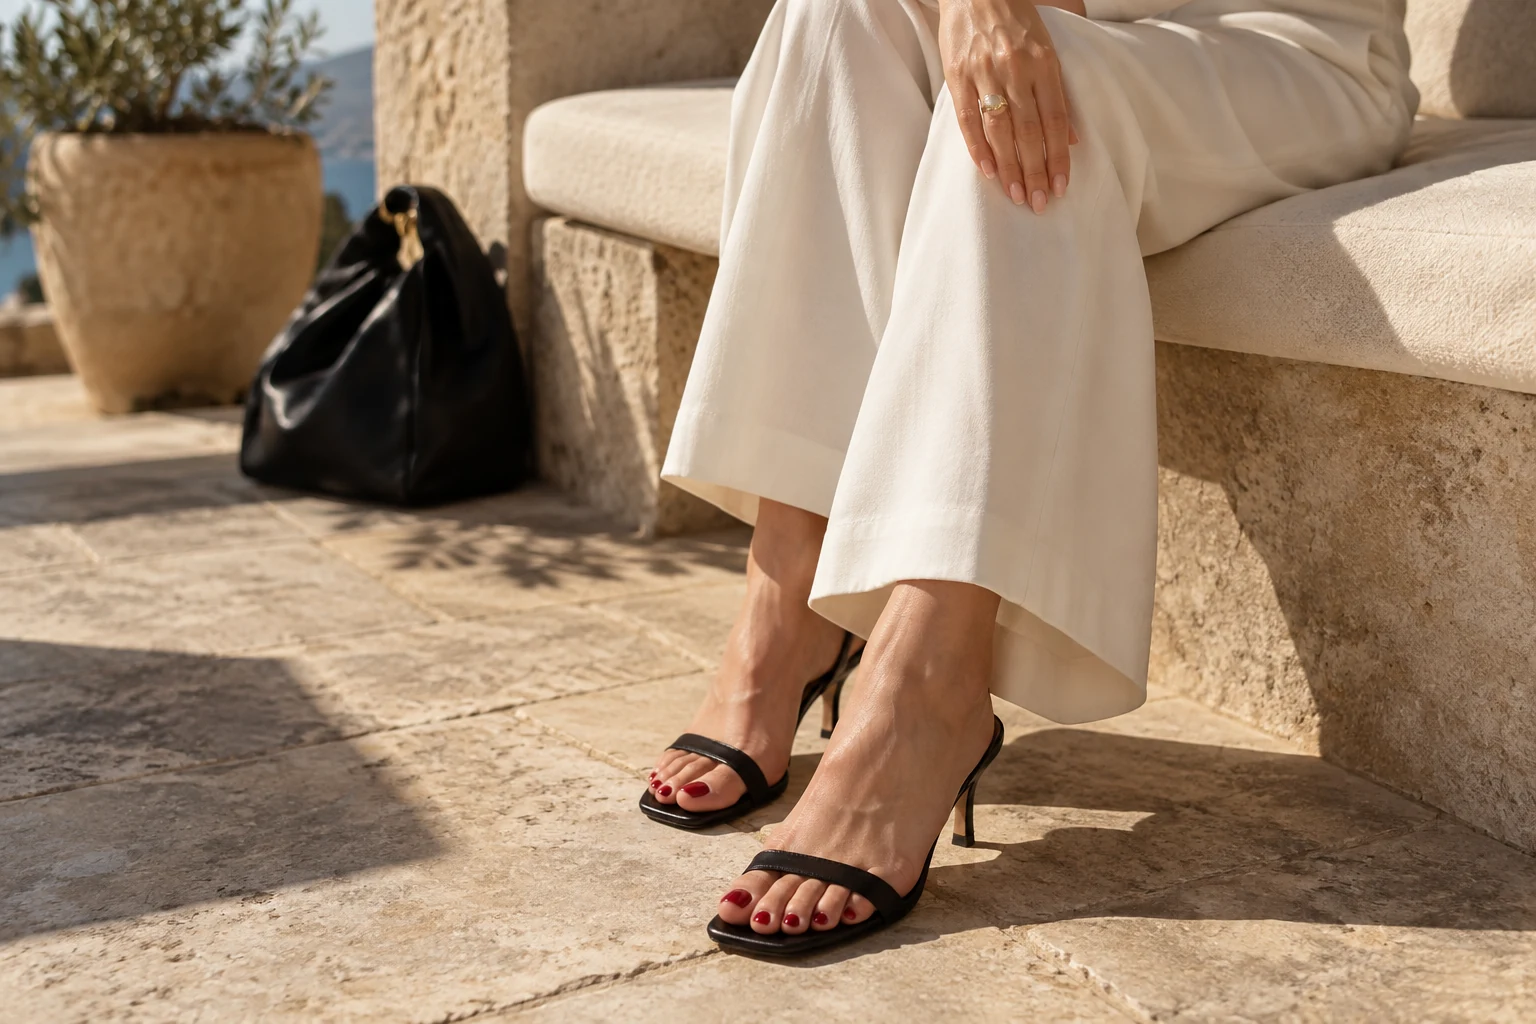
A semi cured gel pedicure sounds wonderfully straightforward: choose a colour, stick it on, cure, put on sandals. In practice, toes bring their own little challenges. The big toenail needs a good width match, the smaller nails may need careful positioning, and you have to reach everything without turning your bathroom into a balancing exercise.
Use strips intended for toenails, follow their exact preparation and curing instructions, and keep all product off the surrounding skin. Do not cover a sore, damaged or suspicious-looking nail. A pedicure should feel comfortable before it looks impressive.
This guide is for a cosmetic routine on healthy-looking nails. It is not a way to treat discolouration, an ingrown nail or a possible infection. We are focusing on fit, setup and sensible shopping so that your first attempt feels organised rather than fiddly.
1. Choose the right semi cured gel pedicure set
Start with the product type. Nail stickers, regular adhesive wraps, semi-cured gel strips and press-on toenails are not interchangeable. If the packaging says the product requires a compatible lamp, plan for that lamp. If it does not require one, shining a lamp on it does not turn it into a different system.
Look for toe-specific sizing, especially the width and curve of the big-toe pieces. Product photographs can show colour beautifully while telling you very little about fit. Check the available size information, the number of strips and whether the listing includes the tools or only the sheet.
The Dashing Diva FAQ distinguishes lamp-cured Glaze from its other systems. That kind of product-specific distinction is more useful than a listing that simply says “gel finish.” For a broader explanation, read what semi-cured gel nail strips are.
2. Set up where you can actually see your toes
Choose a stable seat and a well-lit position. You need to see the side edges without twisting or holding your breath. Put the tools within easy reach before opening the packet. A folded towel under your foot can help keep the surface comfortable and catch small offcuts.
Test the lamp arrangement while it is switched off. Can your toes fit inside without rubbing the product against the housing? Can you hold the intended position comfortably for the manufacturer’s cycle? If the answer is no, rethink the setup before you have adhesive on your toes.
Keep cords away from water and follow the device’s safety instructions. A bathroom basin is not a manicure station just because it has a mirror. If reaching your feet is difficult, consider professional help rather than forcing an awkward position for the sake of doing everything yourself.
3. Check bare nails before choosing the colour
Remove previous colour properly so you can see the surface. Notice anything unusual before covering it. If a nail looks significantly different from its neighbours, is painful, or has a change you cannot explain, leave it uncovered and get advice. Colour is decoration, not diagnosis.
Trim and shape conservatively. The American Academy of Dermatology’s manicure and pedicure guidance recommends cutting toenails straight across and cautions against cutting or forcefully pushing back cuticles. A neat result does not require aggressive work around the skin.
If you have diabetes, reduced sensation or circulation problems, discuss foot care with your clinician. Advice aimed at an ordinary cosmetic pedicure may not be suitable for your situation. It is perfectly reasonable for your version of self-care to involve a professional rather than a home kit.
4. Dry and prepare according to the packet
Follow the specific preparation steps supplied with your strips. The surface needs to be ready for that adhesive system, but that does not mean you should invent a stronger cleaning routine or keep buffing until the nail feels thin. More effort is not always better preparation.
Avoid starting immediately after a long soak if the product requires dry nails. Finish the necessary washing and allow yourself enough time to meet the manufacturer’s directions. Do not add oils or rich foot cream to the application area just before you expect an adhesive to hold.
Place each intended size near its toe before removing any backing. This dry run is especially helpful on the smaller nails. You can identify a poor size match while the strip is still easy to exchange, rather than discovering it halfway through the application.
5. Fit the strip without covering skin
The goal is coverage of the nail surface, not maximum coverage of the entire toe. A strip that overlaps skin is not a better fit because the colour looks more complete. Leave the spacing the manufacturer specifies around the nail edges.
Work one toe at a time and use controlled pressure as directed. Avoid stretching material simply to make an unsuitable size fit. If the brand permits trimming for fit, use that method carefully; if it does not, choose a more suitable product rather than improvising.
Pay particular attention to the big toe, where a width mismatch can be easiest to spot. Smaller toes need a clear view too. Do not assume that a piece is correctly positioned just because it is tiny. Stop and reposition only within the product’s instructions.
6. Cure with the specified device and position
Use the lamp and cycle recommended for that system. Device wattage alone does not establish compatibility. Keep the toes positioned as instructed so the product is exposed appropriately, and make sure the strips do not touch the lamp while you are getting comfortable.
Do not invent a universal cure time from a different brand’s tutorial. Do not keep adding cycles simply because you are unsure. Check the product instructions or contact the manufacturer if the lamp requirements are unclear. Our UV lamp guide explains which questions to ask before buying.
Follow the specified order for trimming and filing. Some systems direct you to trim before curing and finish afterward, but the details belong to that product. Keep the final length practical for shoes, and avoid leaving material projecting beyond the intended nail edge.
7. Plan shoes, aftercare and removal together
A pedicure has to live inside your footwear. Try your usual shoes before committing to a longer shape. If something presses or catches, the colour is not the problem. A comfortable short shape often feels more polished in daily life than a dramatic length you keep noticing.
Respect any product-specific waiting period before water, oil or lotion. After that, continue appropriate foot hygiene and check the edges during normal care. Remove a strip that has become problematic using the intended method; do not keep sealing it down to make it last until the next event.
| Before you begin | Why it matters | What to verify |
|---|---|---|
| Toe-specific strip set | Hand sizes may not fit well | Big-toe width and smaller sizes |
| Compatible lamp | Systems have different requirements | Device and cycle instructions |
| Stable seating | You need a clear, comfortable view | Reach and cord position |
| Removal supplies | Taking it off is part of the routine | Brand-approved method |
| Everyday footwear | The manicure must feel comfortable | Pressure and catching edges |
Read the removal guide before the first application. You are much less likely to peel something off impatiently when the correct supplies are already in the cupboard.
A small colour wardrobe for sandals
If you want one versatile set, begin with the shoes you wear most. A crisp red can make simple black sandals feel intentional. A soft rose can keep the effect understated. A deep brown or burgundy offers a richer contrast with pale linen and leather.
These are styling suggestions, not rules about what different skin tones should wear. Hold the packet beside your foot in daylight if you can. Notice whether you prefer the colour as a quiet continuation of your outfit or as the one bright detail.
For holidays, choosing a shade you already love may be more useful than buying a novelty pattern. You can experiment with a new outfit and still have a familiar pedicure. Save the more complicated design for a day when you have time to enjoy the process.
Pedicure questions, answered
Can I use manicure strips on my toes?
Check whether the manufacturer permits it and whether the shapes fit. Toe-specific sets are a better starting point when you are unsure. Do not force a strip to fit by covering skin.
Will a semi-cured pedicure last longer than a manicure?
Wear varies by product, application and lifestyle. Do not keep colour on solely because an advertised maximum has not passed. Inspect the nails and follow the recommended removal interval.
Can I apply strips over a discoloured toenail?
Leave unexplained changes visible and seek advice before applying another cosmetic covering. This guide cannot determine the cause from colour alone.
Do I need a special colour for short toenails?
No. Choose a shade you enjoy and prioritise neat fit. A short, comfortable nail can carry a bold colour beautifully.
The finishing touch: a good home pedicure is a comfortable, well-fitted result you know how to remove. The sandals are simply the enjoyable part afterward.