Why Semi-Cured Gel Nails Lift at the Edges and How to Fix It
That tiny pocket near the cuticle is useful evidence. Read where the strip lifted, then change the one part of your routine that caused it.
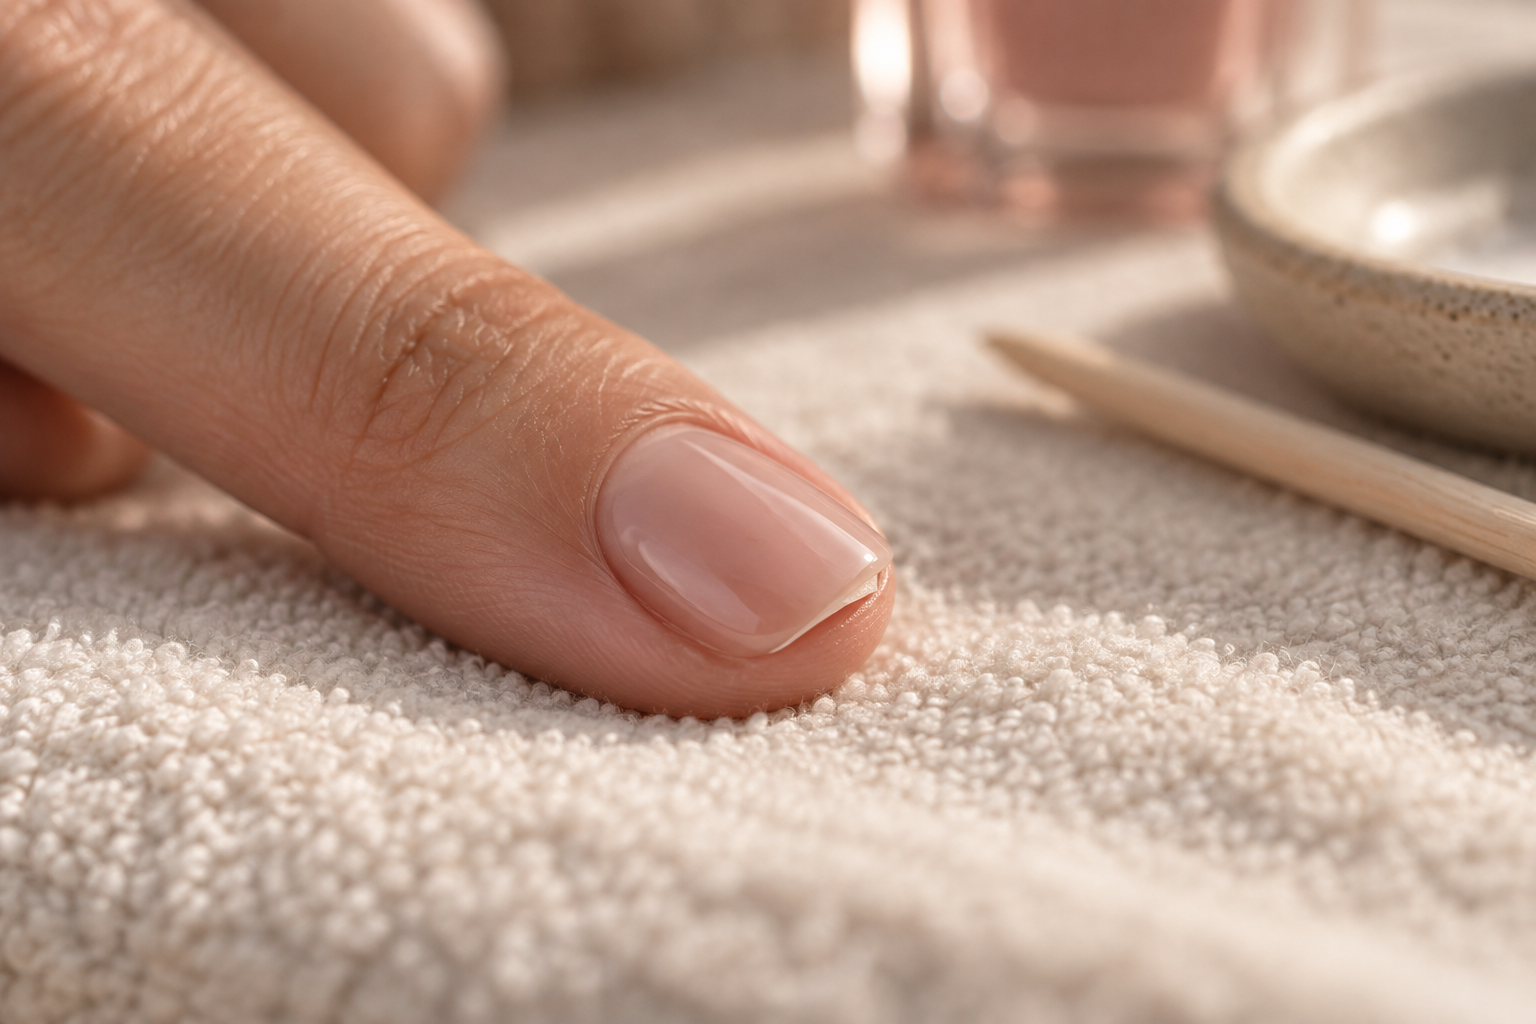
A lifted corner can turn a fresh manicure into something you monitor all day. It catches lint, collects shampoo and makes you wonder whether the whole set is about to leave. Before adding more glue or another coat, look at the failure like a clue.
The useful question is not simply why semi cured gel nails lift. Ask where they lift, when they lift and which fingers fail first. Cuticle lifting points toward sizing or skin overlap. Free-edge lifting points toward excess strip, filing or heavy fingertip use. Random early lifting across every nail points toward preparation or a product-system issue.
Fix one variable at a time. When you change the prep pad, lamp, sizing and top coat in the same manicure, you learn nothing about what actually helped.
Start with the Location, Not a Random Fix
A crescent-shaped gap at the base usually means the strip touched the cuticle, flooded a sidewall or was placed over invisible oil. A corner that rises beside the nail can signal a strip that is a fraction too wide. A rough lip at the tip often means the material was left beyond the natural nail or filed upward rather than flush.
Timing adds another clue. A strip that lifts within hours probably never formed a clean bond. A strip that behaves for a week and then loosens may simply be responding to growth, water and daily wear. Photograph the first failure before removing it; the picture is more honest than your memory three days later.
Oil and Water Are Quiet Bond Breakers
Wash away visible residue, dry the hands completely and use the preparation step supplied by the manufacturer. Avoid hand cream, cuticle oil and a steamy shower immediately before application. The nail may look dry while moisture remains around the sidewalls.
Preparation should make the plate clean, not sore. Aggressive buffing is not a substitute for clean placement. If a brand does not tell you to roughen the nail, do not invent that step. Your goal is a dry surface and intact skin, not a thinner natural nail.
- Apply in a dry, well-lit room.
- Keep fingertips off the cleaned nail plates.
- Clean one hand, apply it, then prepare the other if you touch tools often.
A Smaller Strip Often Wears Better Than a Perfect-Looking One
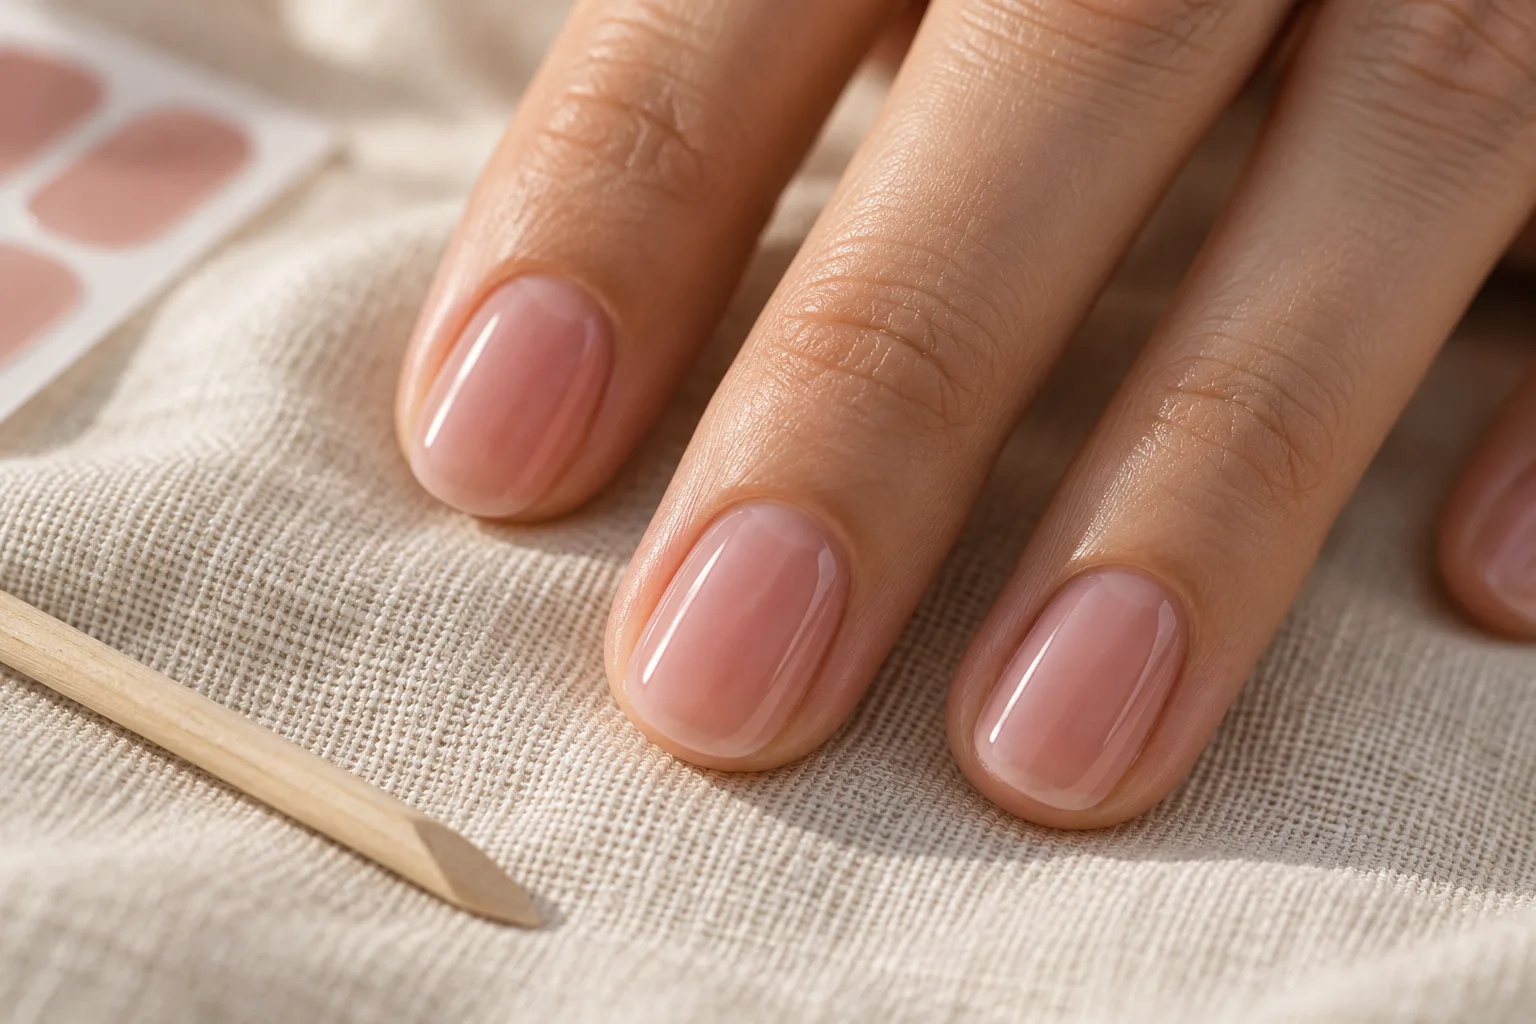
When you are between sizes, choose the strip that remains fully inside the sidewalls. Stretching a strip onto skin creates an unsupported edge; choosing one that is too wide does the same thing. A slim reveal of natural nail is less noticeable than a lifted border after your first hair wash.
Press from the center toward the edges and inspect the perimeter from several angles. The strip should stop just above the cuticle and sit flat at both sidewalls. This is where patience creates longevity: one careful minute now can save ten days of snagging.
The 60-Second Pre-Cure Inspection
Every edge sits on nail, with no cuticle or sidewall overlap.
No crease, bubble or trapped ridge crosses the nail.
The soft strip is trimmed according to the brand directions.
No oil, remover or hand cream has returned to the surface.
Trim and File the Tip Flush
A soft strip hanging beyond the nail bends every time you button jeans or open a bag. Trim most of the excess before curing if the instructions allow, then finish the edge using the brand’s stated direction. Do not leave a soft transparent shelf simply because you hope curing will turn it into an extension.
After curing, feel the free edge with the pad of another finger. It should feel like one clean line, not a ledge. If you can hook the edge with a fingernail, hair probably can too.
- Use a fresh, fine file rather than a torn abrasive.
- Support short nails from beneath while finishing the edge.
- Never file back and forth aggressively across a warm or freshly cured strip.
Follow the Strip-and-Lamp System
Cure time is not a universal beauty hack. The manufacturer chooses a lamp and cycle for its formula, and a random lamp may differ in wavelength, output or timer. Follow the current directions for the strip you bought and keep unused strips away from curing light.
More time is not automatically more secure. It cannot repair oil under the adhesive or a strip touching skin. If the product remains unusually soft, wrinkles, heats painfully or never seems to set, stop and contact the brand rather than stacking extra cycles.
- Center the lamp over all five nails.
- Keep the hand flat during the full cycle.
- Use the same brand-approved sequence before troubleshooting additives.
Know When to Repair and When to Remove
A barely rough free edge may be refined if the strip is otherwise secure and the brand permits it. A pocket that opens from the cuticle or sidewall should not be sealed over with a mystery layer. Water and debris can enter the gap, while the new coating hides what is happening beneath it.
Remove the failed strip by the approved method, check the nail and replace it only if the nail and surrounding skin look and feel normal. A comfortable nine-day set is a better result than a fourteen-day set you kept patching long after it felt secure.
What to Shop—and What to Check
Listings, sellers and prices change. These links are starting points, not claims that an item is currently a bestseller. Confirm compatibility and current directions before purchasing.
Fine Nail Files
Choose a gentle grit for refining the free edge without sawing at the strip.
Semi-Cured Gel Prep Pads
Check ingredients and compatibility with your strip system before substituting for the included prep pad.
Why Semi Cured Gel Nails Lift: FAQ
Why do my gel strips lift at the cuticle?
The strip may be touching skin, sitting over oil or placed too close to the cuticle. Size down and leave a tiny clean margin.
Can I glue a lifted edge down?
Do not add nail glue unless the strip maker explicitly permits it. Removing a failed strip is usually cleaner than sealing a pocket.
Does top coat stop lifting?
It cannot correct poor prep or skin overlap. Some systems do not require top coat at all.
Why do only my index fingers lift?
Those fingers often do more work. Shorten the free edge and note the tasks that stress them.
Can water cause lifting?
Long water exposure can challenge the edge. Follow the brand’s aftercare window and wear gloves for prolonged wet work.
Should I buff my nails first?
Only if the maker instructs it, and then very lightly. Over-buffing can thin the natural nail.
When should I remove the set?
Remove a strip when a pocket opens, debris enters, the edge repeatedly catches or the nail becomes uncomfortable.
Your first lifted edge is a diagnostic note
Once you know why semi cured gel nails lift on your own hands, the fix is usually quieter than internet hacks suggest: cleaner prep, a slightly smaller size, a flush tip and the correct cure.
Keep one photo and one sentence after each set. Three manicures will reveal whether the problem follows a finger, an edge or a step in your routine.
2 thoughts on “Why Semi-Cured Gel Nails Lift at the Edges and How to Fix It”