How to Stop Hair Snagging on Gel Nail Strips
If shampoo day exposes every tiny lip in your manicure, use touch—not another glossy layer—to find and correct the culprit.
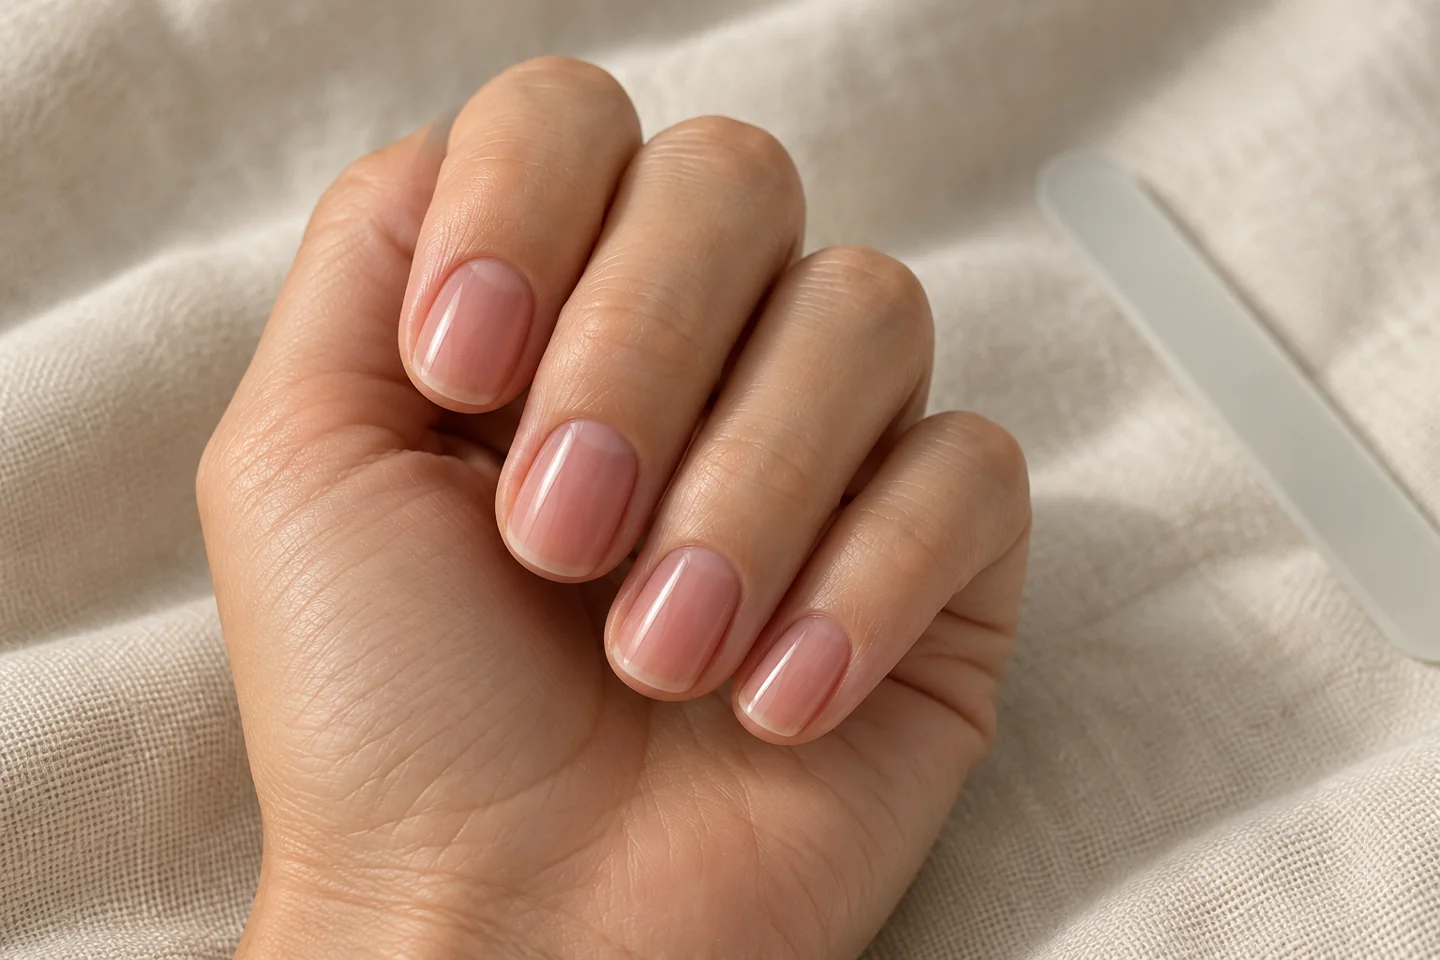
A manicure can look flawless in a photo and still announce itself every time you wash your hair. That quick tug usually comes from a physical edge: a strip on skin, a tiny fold beside the cuticle, a free-edge shelf or a bond that has begun to open. Learning how to stop hair snagging on gel nail strips starts with understanding these friction points.
The goal is not to create the thickest seal. The goal is to remove the ledge. To learn how to stop hair snagging on gel nail strips successfully, you need to feel the perimeter during application and again before the set meets shampoo.
Use the pad of a fingertip, a strand of dental floss held above the nail or a lint-free wipe for inspection. Do not drag hair beneath a questionable edge; the test should reveal a lip without forcing one open when figuring out how to stop hair snagging on gel nail strips.
Find the Exact Catch Point
Run a clean fingertip around the cuticle, down both sidewalls and across the free edge. A rough tip feels different from a lifted base: the tip feels abrasive, while a lifted base feels like a tiny flap. Mark the finger mentally before you reach for a file.
When figuring out how to stop hair snagging on gel nail strips, note that snagging on day one usually comes from placement or finishing. Snagging that begins after a week may be ordinary growth or gradual lifting. That distinction matters because mastering how to stop hair snagging on gel nail strips means knowing when to file versus when to remove.
By understanding how to stop hair snagging on gel nail strips early, you can prevent annoying hair pulls during daily routines.
- Cuticle catch: inspect skin overlap.
- Sidewall catch: check width and wrinkles.
- Tip catch: check overhang and filing direction.
Leave a Deliberate Margin Around the Skin
A strip should cover the visible nail without crossing onto skin. If you are between widths, use the smaller one. The narrow margin may be visible to you at arm’s length, but the smooth result reads cleaner and wears better than a full-width strip with a raised border.
Do not stretch a narrow strip sideways just to erase that margin unless the maker teaches that technique. Proper methods on how to stop hair snagging on gel nail strips avoid creating tension near the sidewalls.
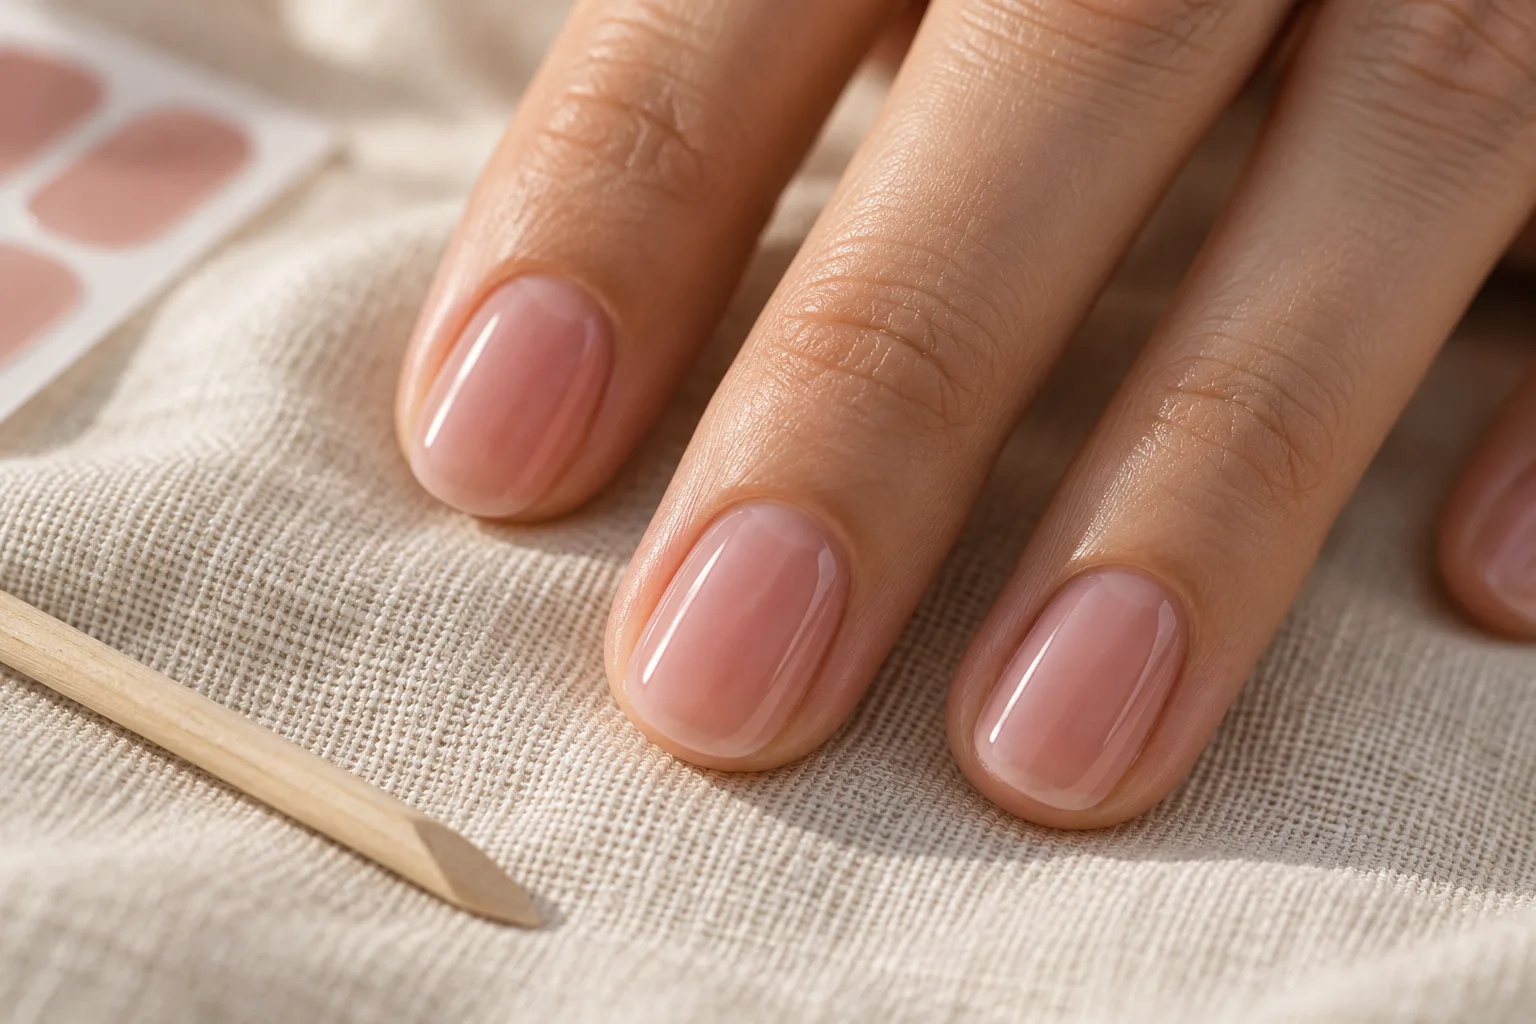
The Shampoo-Proof Perimeter Routine
Size down
Choose the width that stays fully inside both sidewalls.
Smooth outward
Move air from the center toward each edge.
Trim flush
Remove the soft overhang before it becomes a shelf.
Touch-test
Feel the full perimeter before curing and before washing.
Press in a Direction That Pushes Air Out
Anchor the strip near the center, then smooth outward in short strokes. Work toward each sidewall and finally toward the tip. Pressing randomly can move a crease around rather than removing it. Give special attention to the lower corners, where curved nails invite small folds.
A silicone-tipped tool can help if the brand approves one, but pressure should remain comfortable. You are encouraging contact, not embossing the natural nail. Stop if the surrounding skin becomes tender.
Make the Free Edge One Clean Line
Trim excess close to the natural nail and follow the company’s filing sequence. Support the finger so a short nail does not flex with every stroke. Finish the corners as carefully as the center; a single wing of material can catch hair even when the middle looks perfect.
Turn the hand palm-up and inspect from beneath. If the cured material extends beyond the natural nail without being designed as an extension, refine it according to the instructions. Do not use the strip as added length unless the product explicitly supports that use.
Respect the First Hour and the First Hair Wash
Some systems advise avoiding water, oil and lotion for a period after application. Dashing Diva currently advises at least one hour for Glaze. Check your own pack, then schedule the manicure after—not before—the evening shower.
During the first hair wash, use the finger pads rather than scratching the scalp with nail edges. Gloves for shampoo are optional, but a scalp brush can reduce direct edge pressure. If one nail catches repeatedly, pause and inspect instead of pulling through the snag.
A Rough Edge Can Be Refined; a Pocket Should Come Off
For a secure strip with a rough tip, a fine file used as directed may restore a smooth line. For a cuticle pocket, lifting the nail further to push product underneath usually makes the problem larger and can expose skin to materials not intended for it.
Use the brand’s remover and a manicure stick slowly. Replace the strip only after the nail is clean and comfortable. If snagging comes with redness, itching or swelling, remove the product safely and seek medical advice rather than treating it as a finishing problem.
- Never rip through a caught strand.
- Do not paint over trapped hair or debris.
- Keep a spare strip for one-finger replacements.
What to Shop—and What to Check
Listings, sellers and prices change. These links are starting points, not claims that an item is currently a bestseller. Confirm compatibility and current directions before purchasing.
Silicone Nail Art Tools
A soft tip can help press an approved strip perimeter without a sharp wooden edge.
Fine Glass Nail Files
A washable fine file can make controlled free-edge finishing easier.
How to Stop Hair Snagging on Gel Nail Strips: FAQ
Why do my nails catch hair only after a few days?
Growth and gradual edge wear can create a lip. Inspect whether the strip is still bonded before filing anything.
Can clear top coat seal the cuticle edge?
Only use a top coat the brand permits. It should never be used to hide an open pocket.
Should I push the strip under my cuticle?
No. Place it above the cuticle on the nail plate, not beneath or on the skin.
Does curing longer prevent snagging?
Extra curing cannot fix incorrect width or overhang. Use the specified cure cycle.
Why does my thumb snag most?
Thumbs handle packages, buttons and phones. Keep them slightly shorter and inspect their corners carefully.
Can I file the cuticle edge?
Filing near skin risks irritation and can open the bond. Remove a lifted strip instead.
Is a tiny natural-nail border normal?
Yes. A small clean border is preferable to product touching the sidewall.
Smoothness is a fit decision
The reliable way to master how to stop hair snagging on gel nail strips is to build a flat perimeter before the lamp ever turns on. Smaller sizing, directional smoothing and a flush tip do more than an emergency glossy layer.
Treat a new snag as information. A rough tip asks for careful finishing; a lifted pocket asks for removal. Your hair should not have to test the manicure for you.